How a customer places an order
The customer's journey through the storefront: catalogue, price calculator, cart, checkout and the customer account.
Updated:
Everything that reaches the panel as an order or a request starts on the storefront. This chapter walks through the site the way a customer sees it, so you know what he saw and what he filled in before the order turned up on your side. The exact look of the pages depends on the content and the design configured in the panel — the screenshots show the demo store.
1. The home page and the catalogue
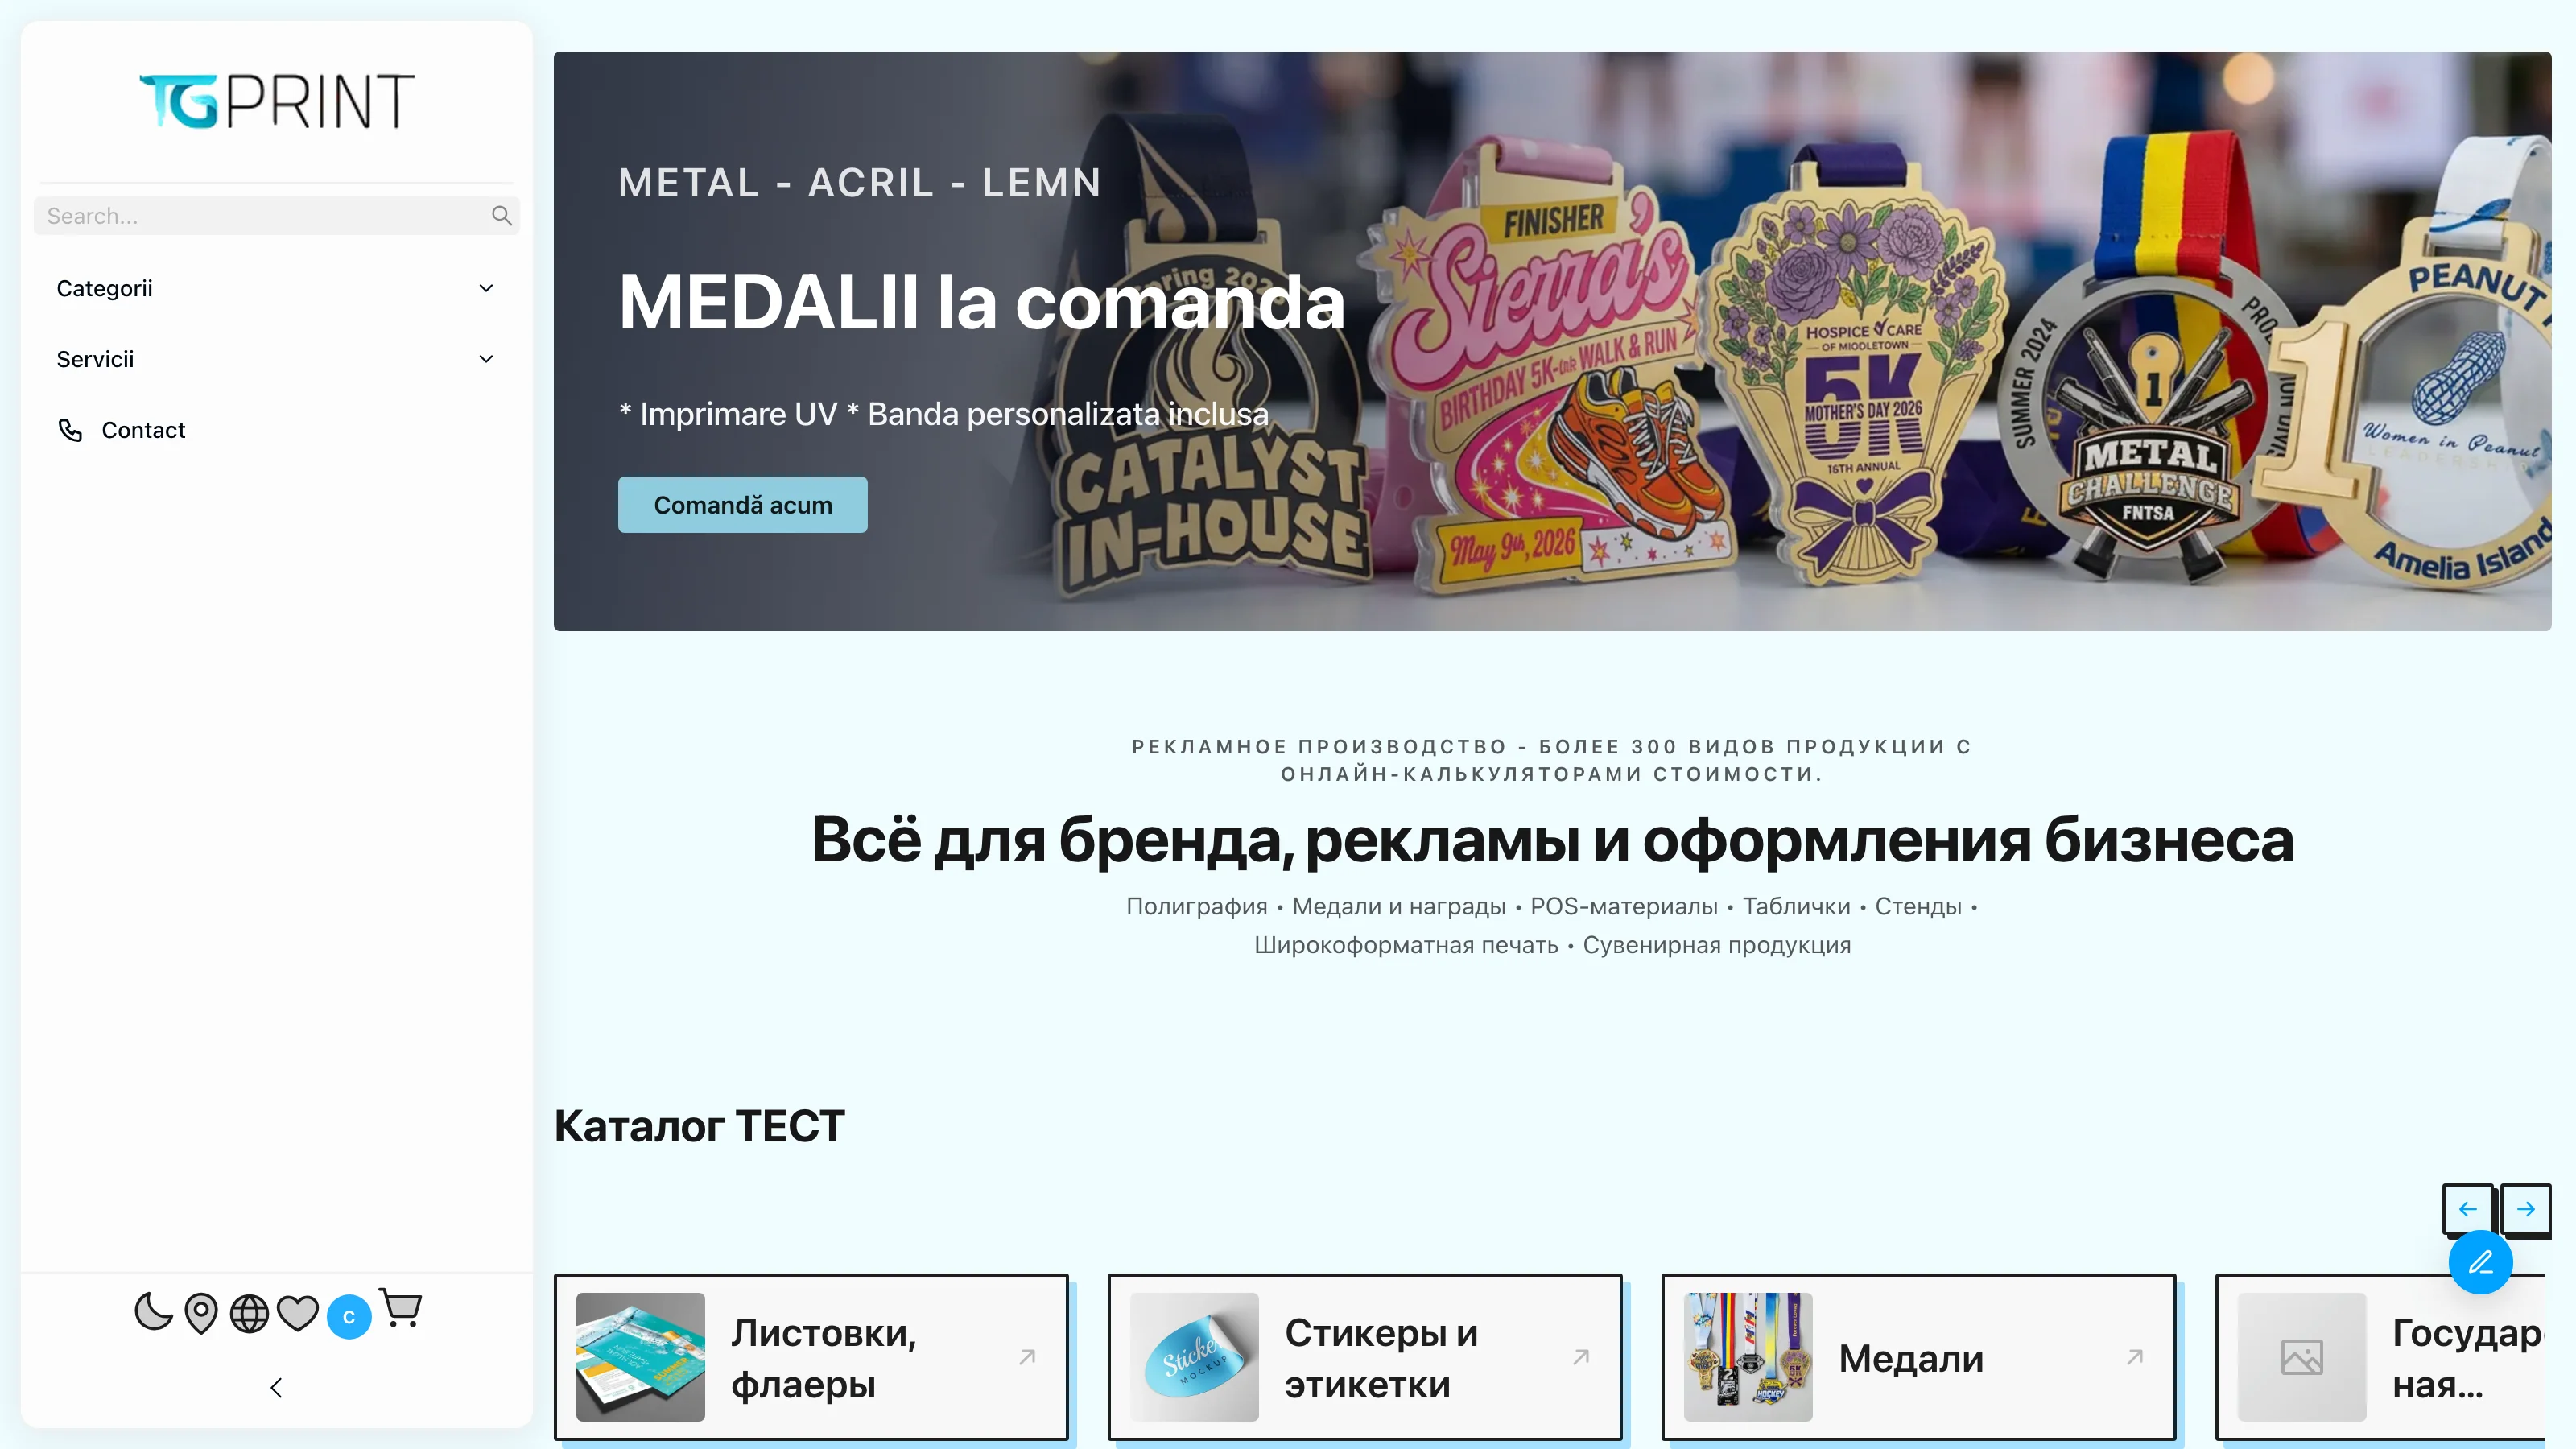
The home page is built from widgets you manage in Content → Widgets: the banner slider, the category list, the advantages block, the ordering steps, the recommended products, the blog. The top menu (Categories, Services, Contact) and the footer come from Content → Website Content → Menu / Footer Menu.
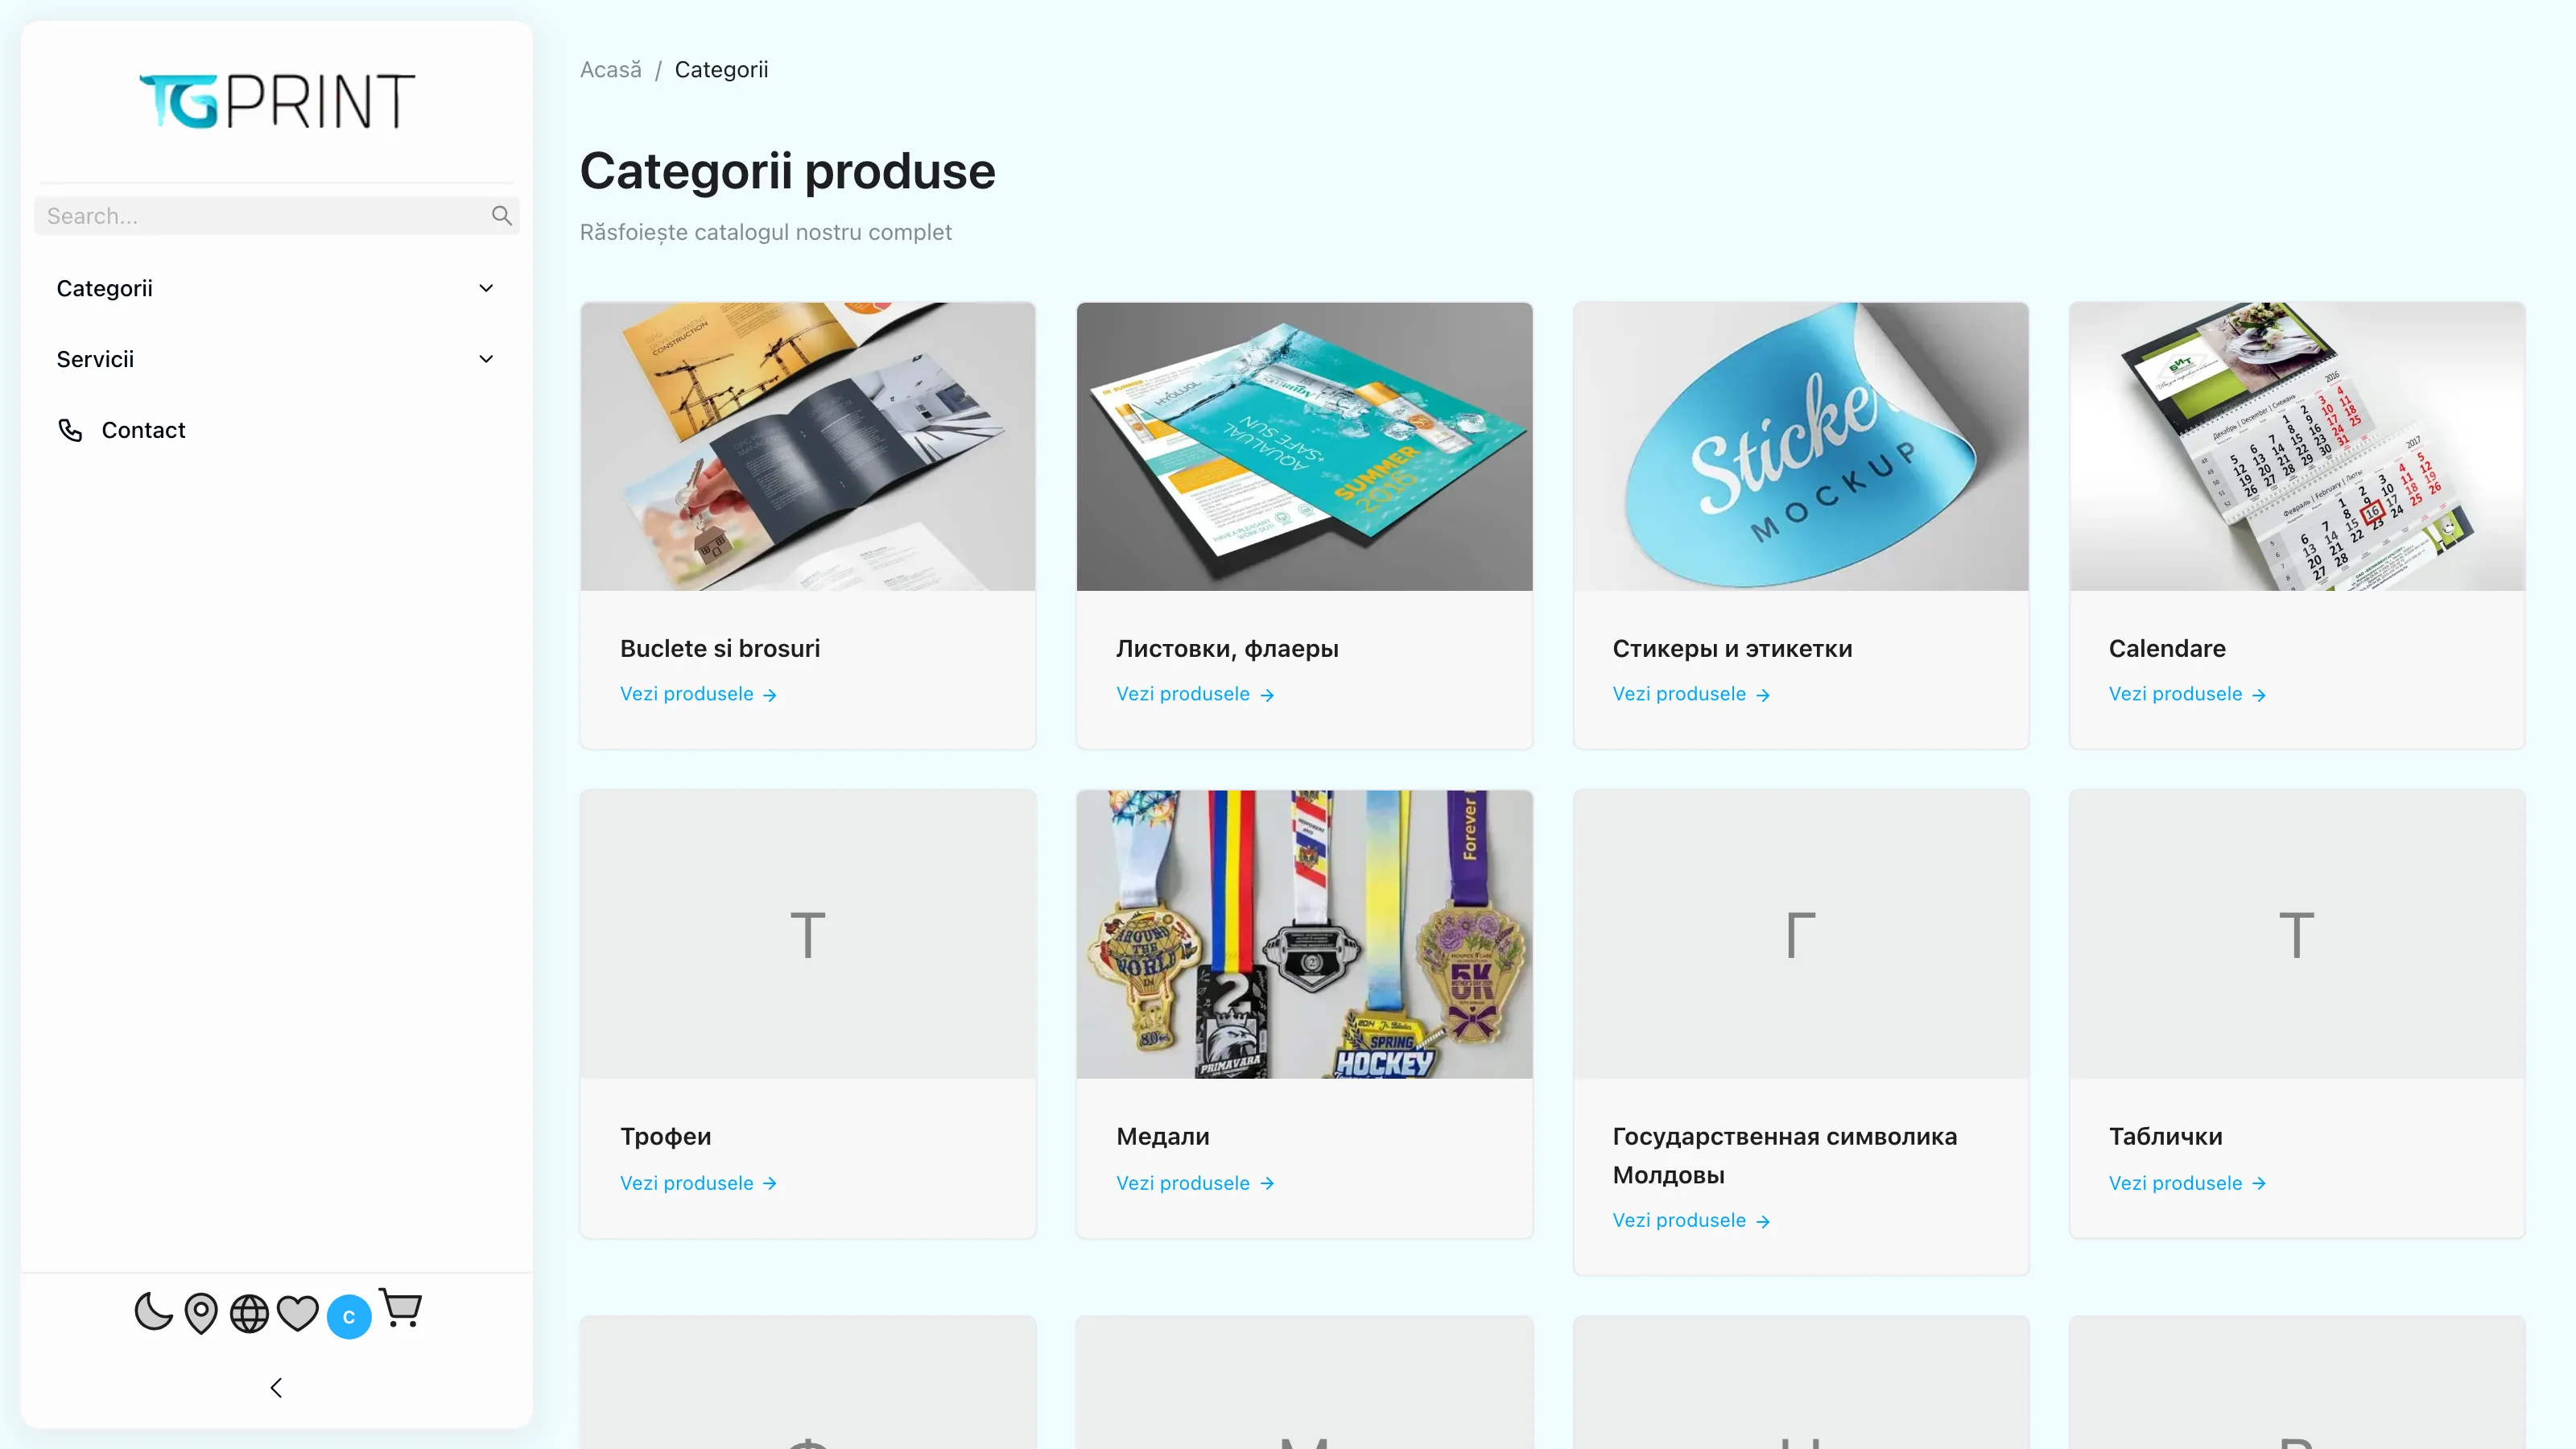
The Categories page lists the active categories of the catalogue, with their image and the number of products. A category with no visible products is shown without a counter. The order and the images are set in Product categories.
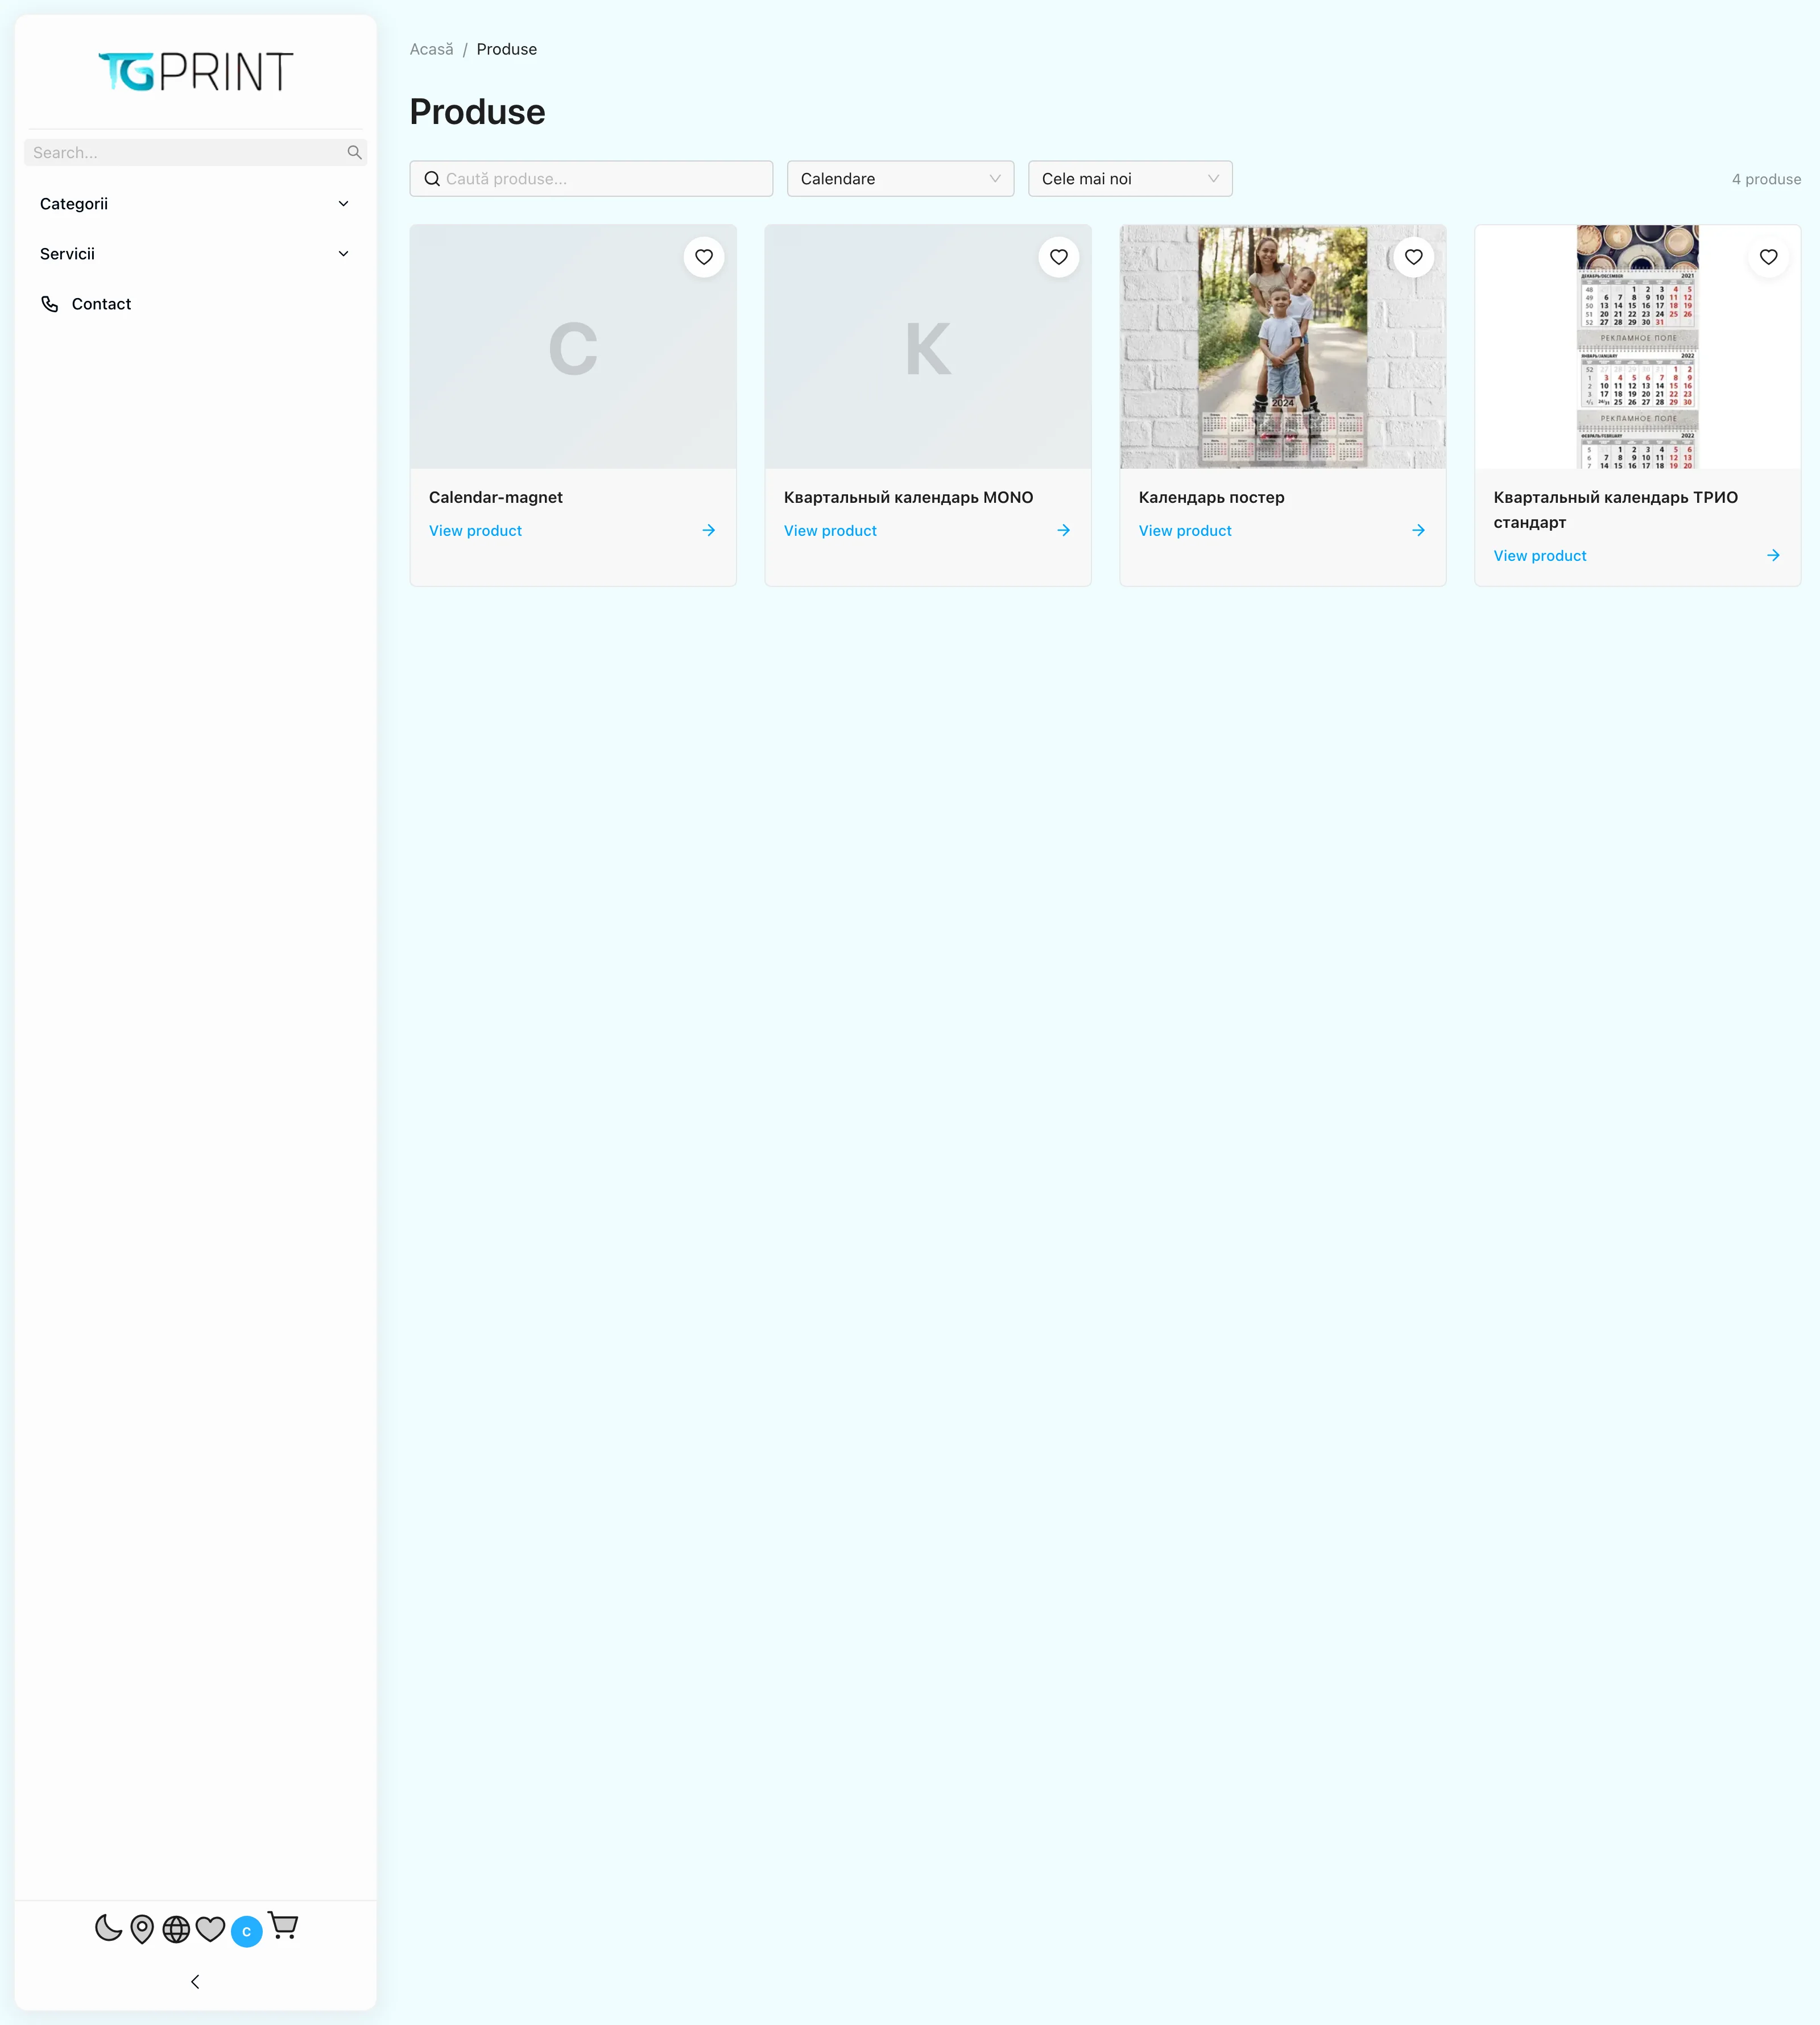
In a category listing, every product has its main image, its name, its subtitle and, when the calculator is configured, an indicative price. Only the products marked as visible on the website appear here.
2. The product page and the price calculator
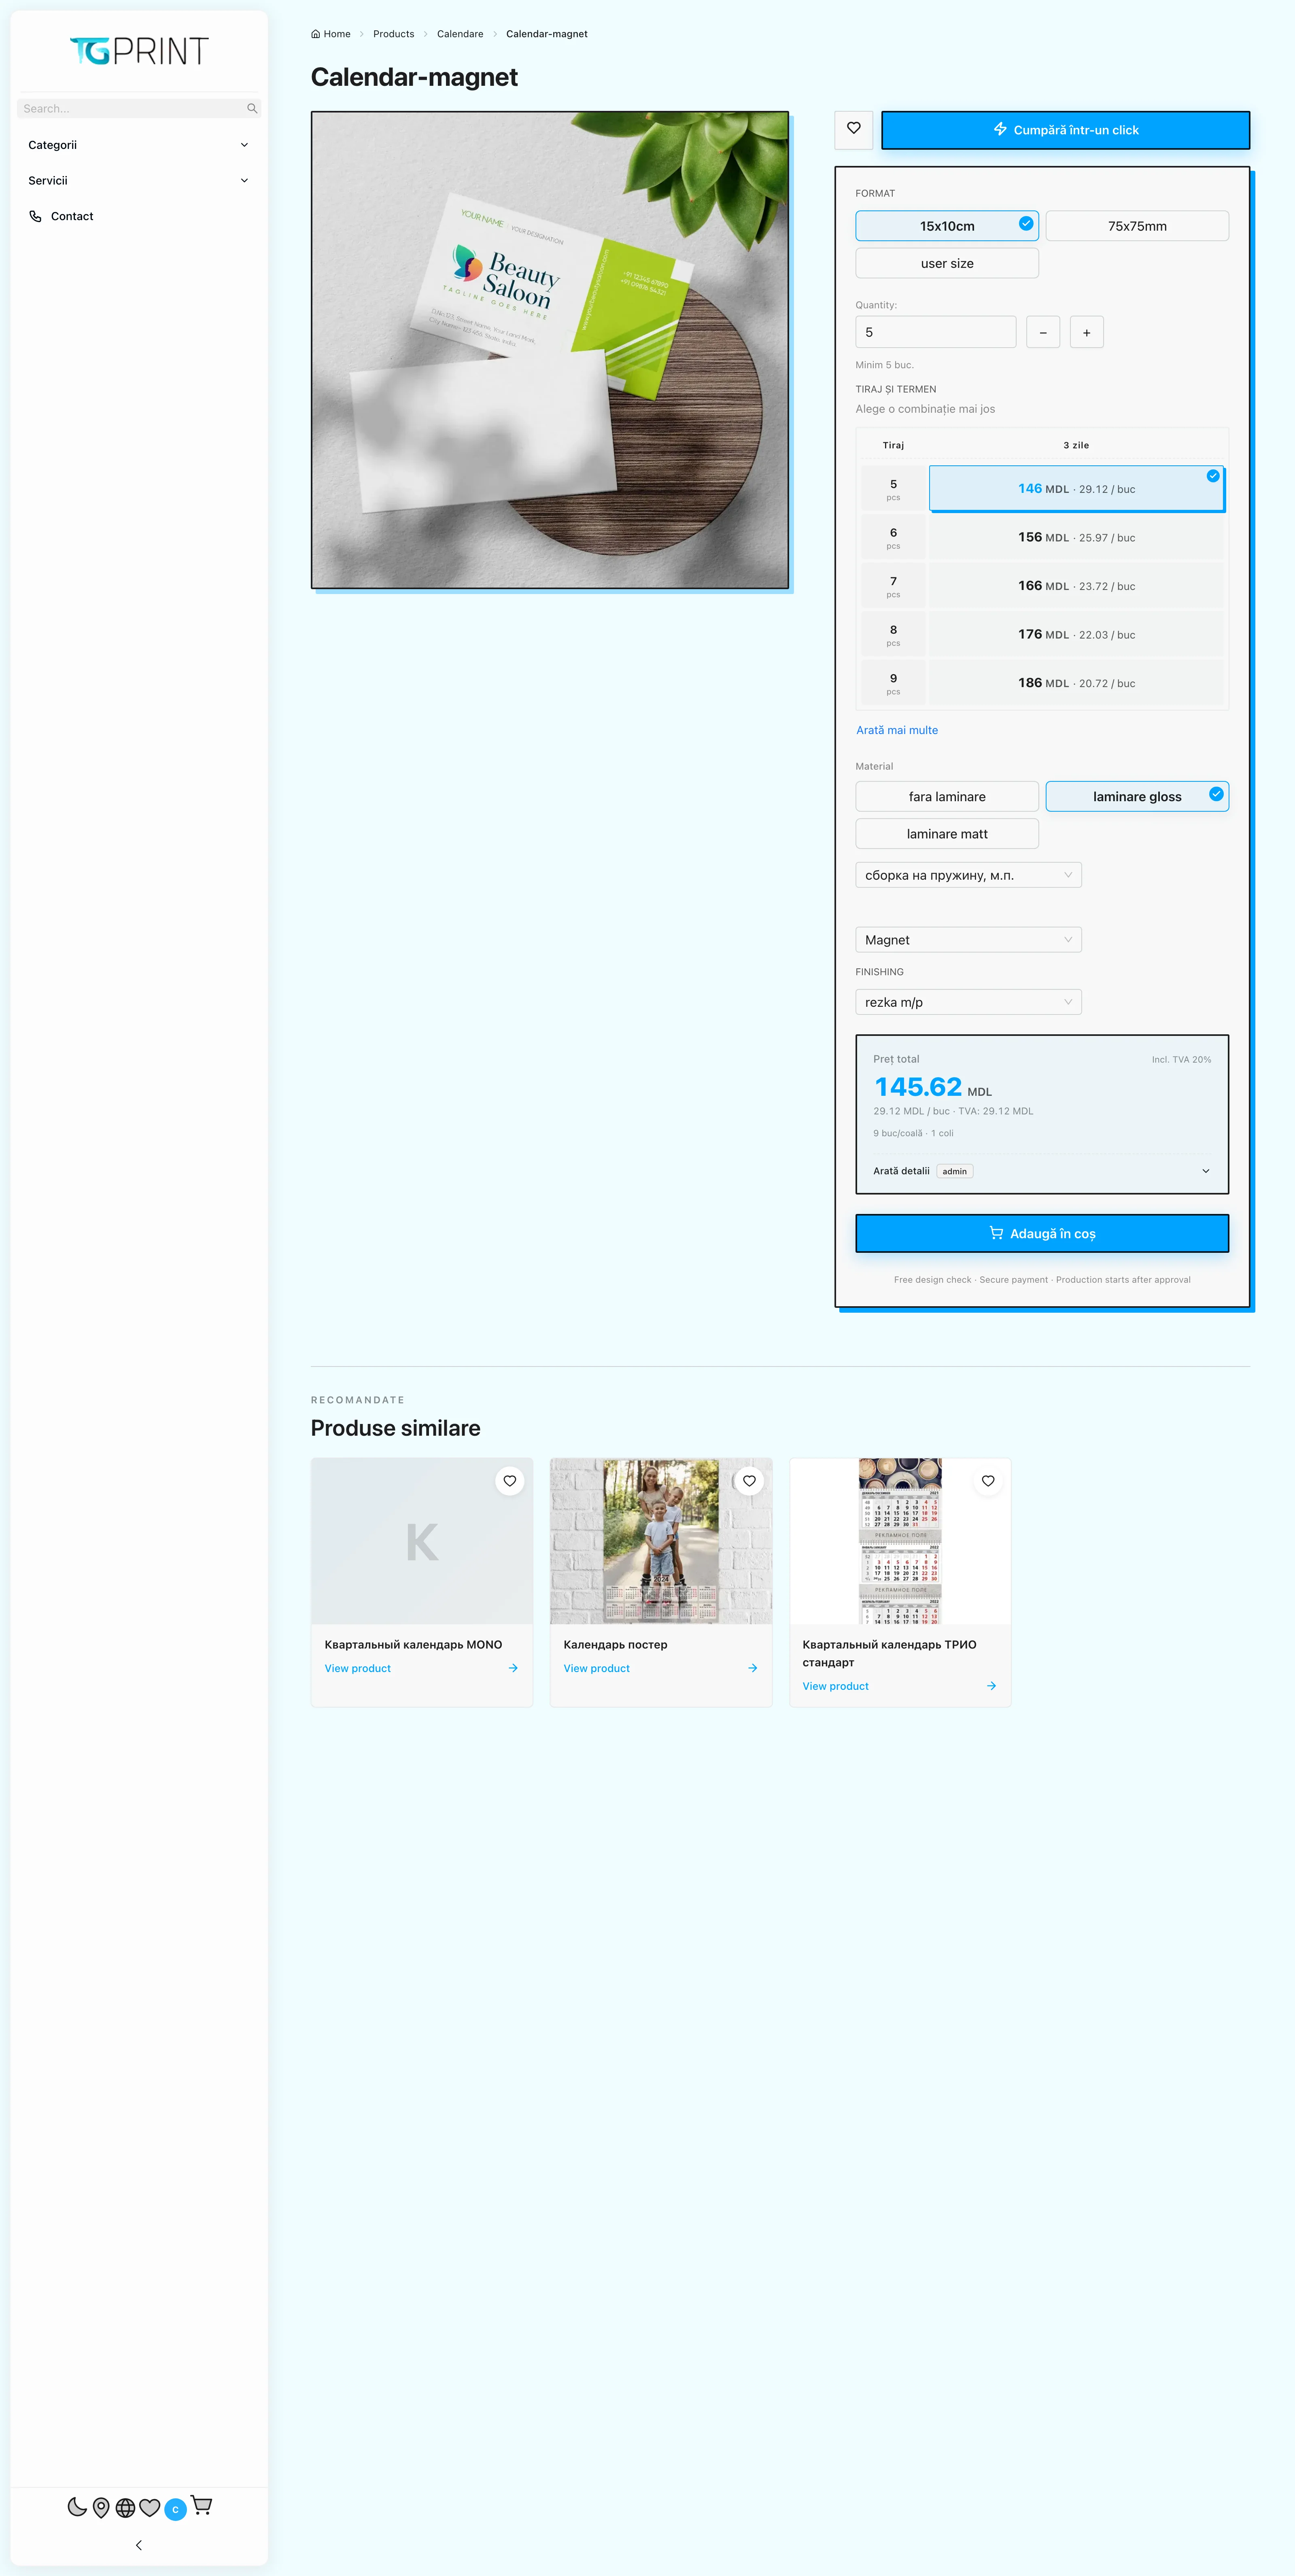
This is where the customer configures his order, step by step, in the price calculator:
- He picks the format (the dimensions) and, where relevant, the orientation.
- He picks the quantity — from the list of predefined print runs, or by typing a number if the product allows it.
- He picks the printing and finishing options defined for the product: the paper, the colours, the lamination, the cutting and the other operations. Every option changes the price immediately.
- He picks the production timeframe (standard or rush), which also shows the estimated completion date, computed from the production calendar.
- He sees the total price and the price per piece, updated with every change, and clicks Add to cart.
What the customer sees here is exactly what you configured in the product's Calculation tab — see Price calculation. A product with no calculator configured shows a message in its place and cannot be ordered online.
Note. The Buy in one click button opens a short form (name, phone) and creates a request, not an order. You find it in Website Requests, from where you can turn it into an order. See Website requests.
3. The cart and the artwork
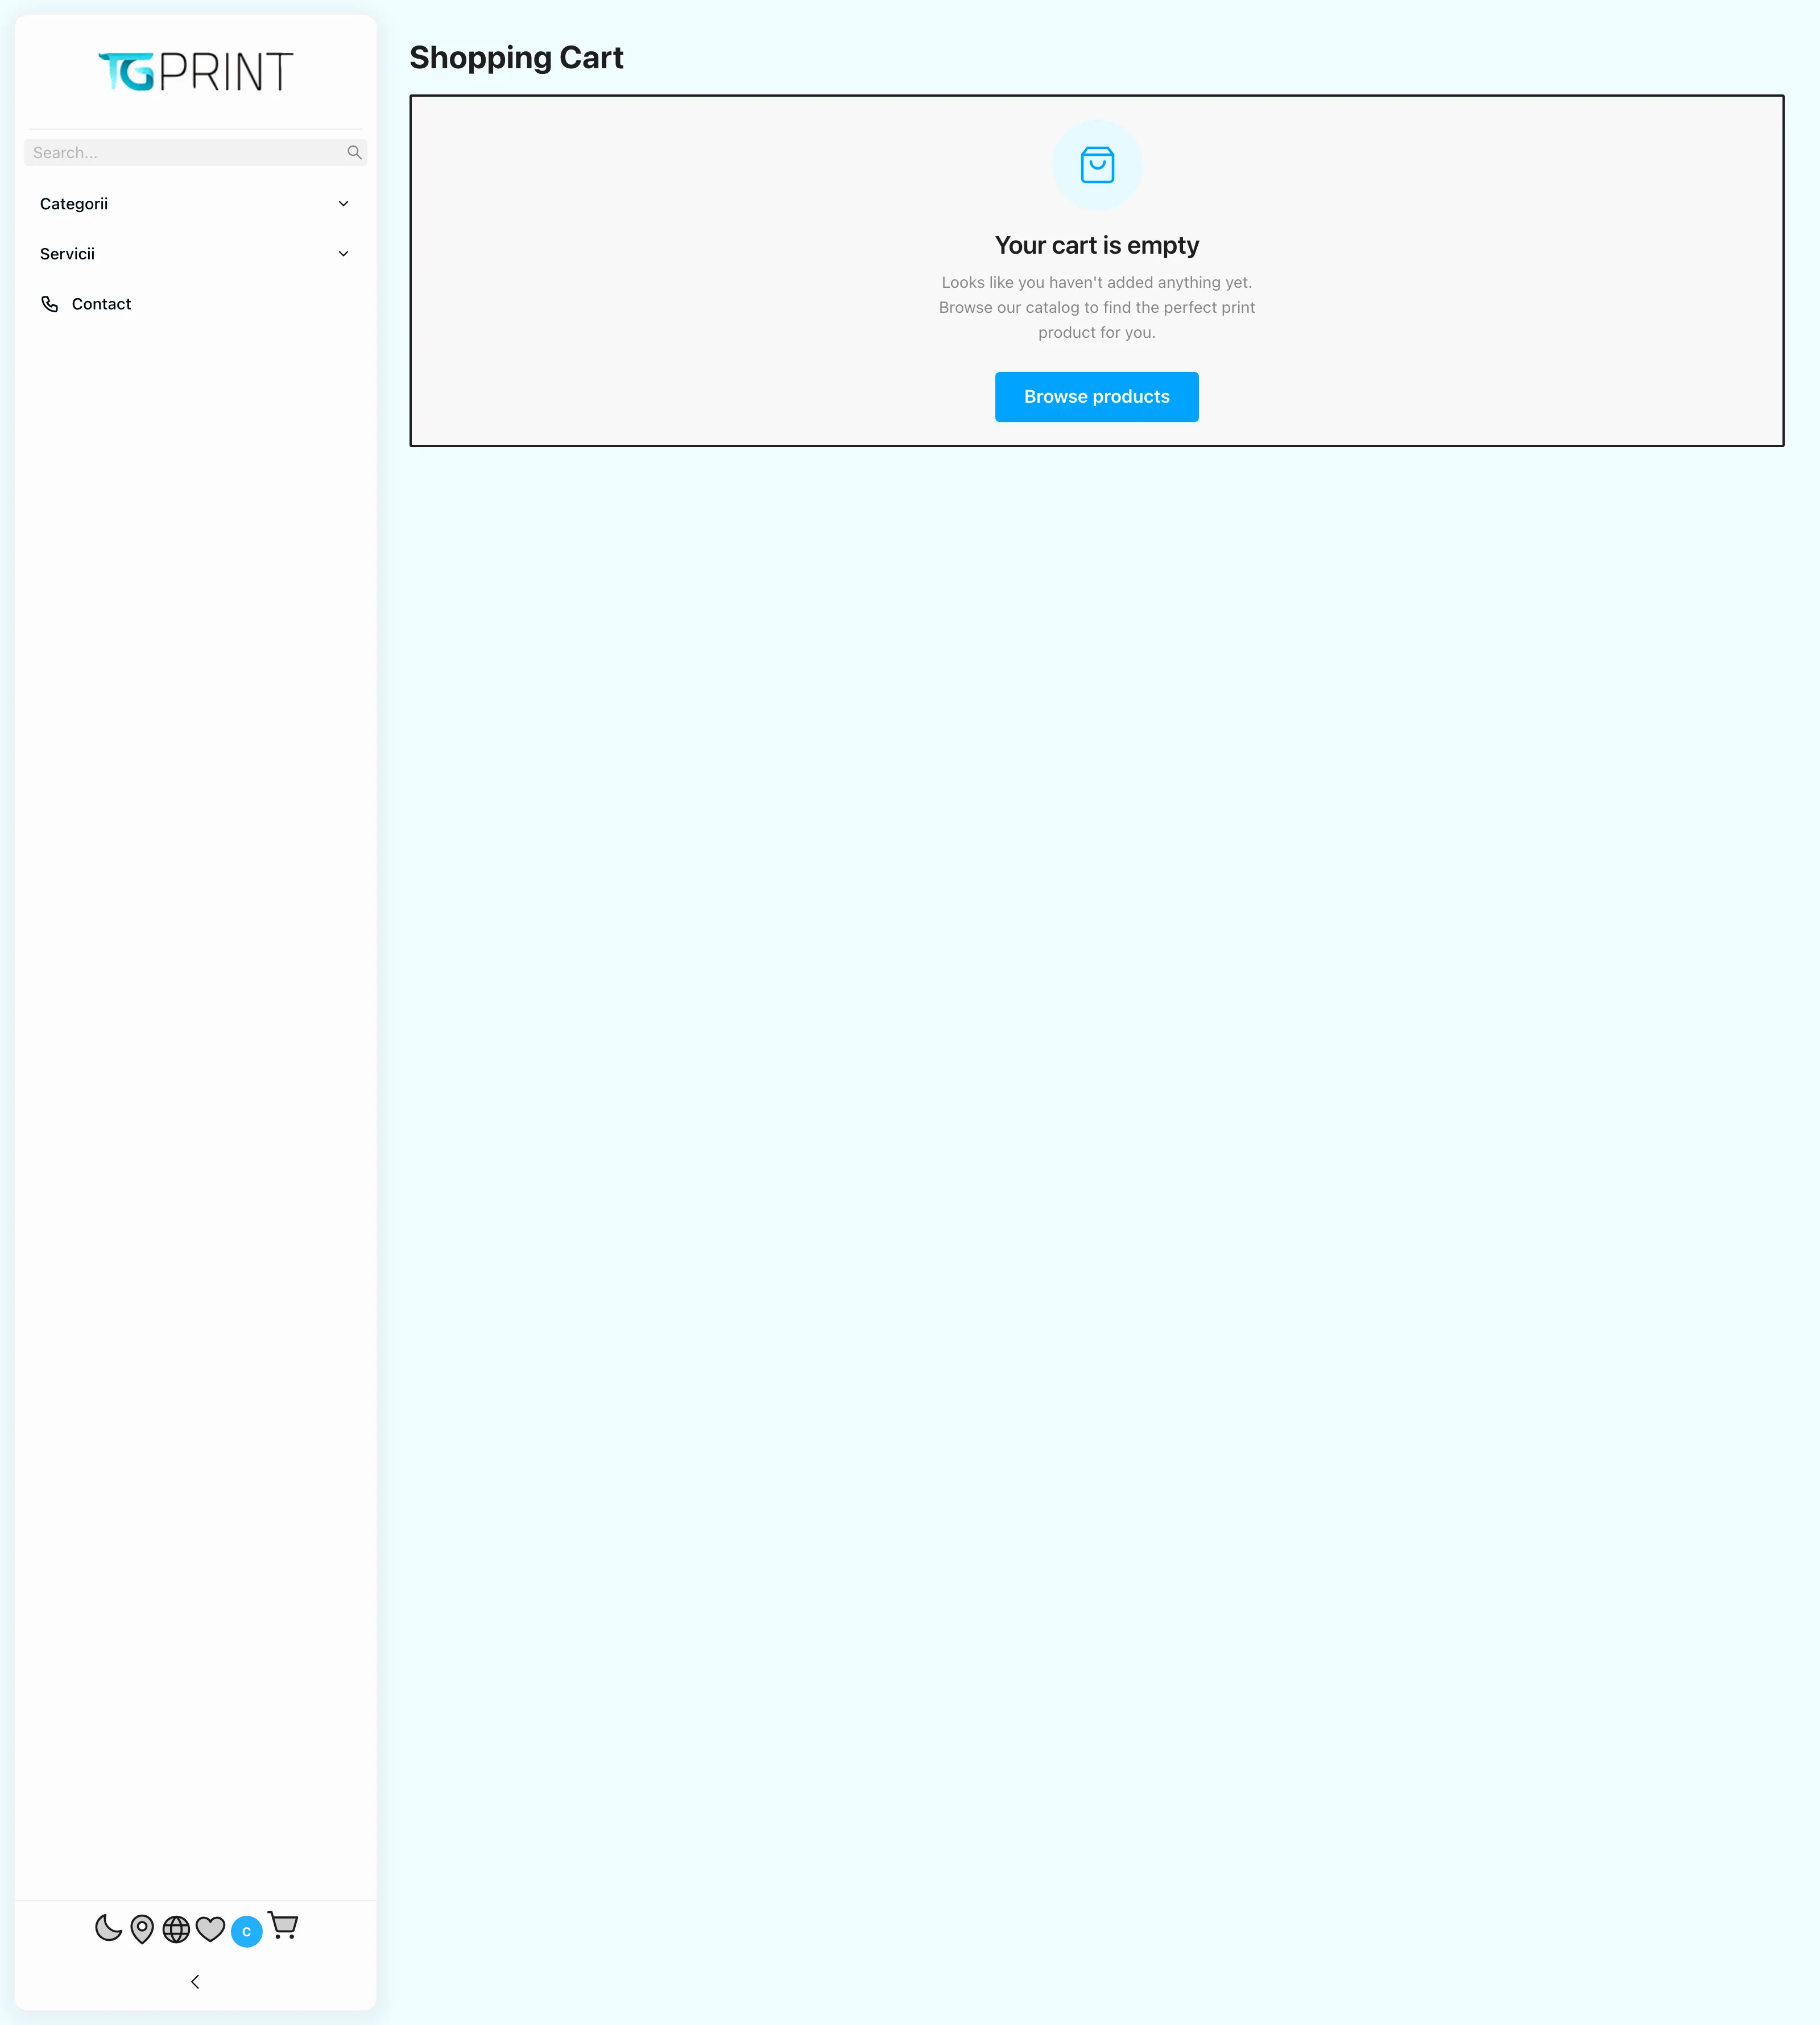
In the cart, every configured product is a line with the chosen parameters, the quantity (editable, with the price recalculated) and the price. From the cart the customer also:
- uploads the artwork for the products that require it — one file per side, with an automatic check of the dimensions and the resolution; if a product has mandatory artwork, he cannot move on to checkout without it;
- can choose the artwork check service (free or paid, according to the tiers in Settings → Design check service);
- sees the estimated weight and the date by which the order can be ready.
4. Checkout
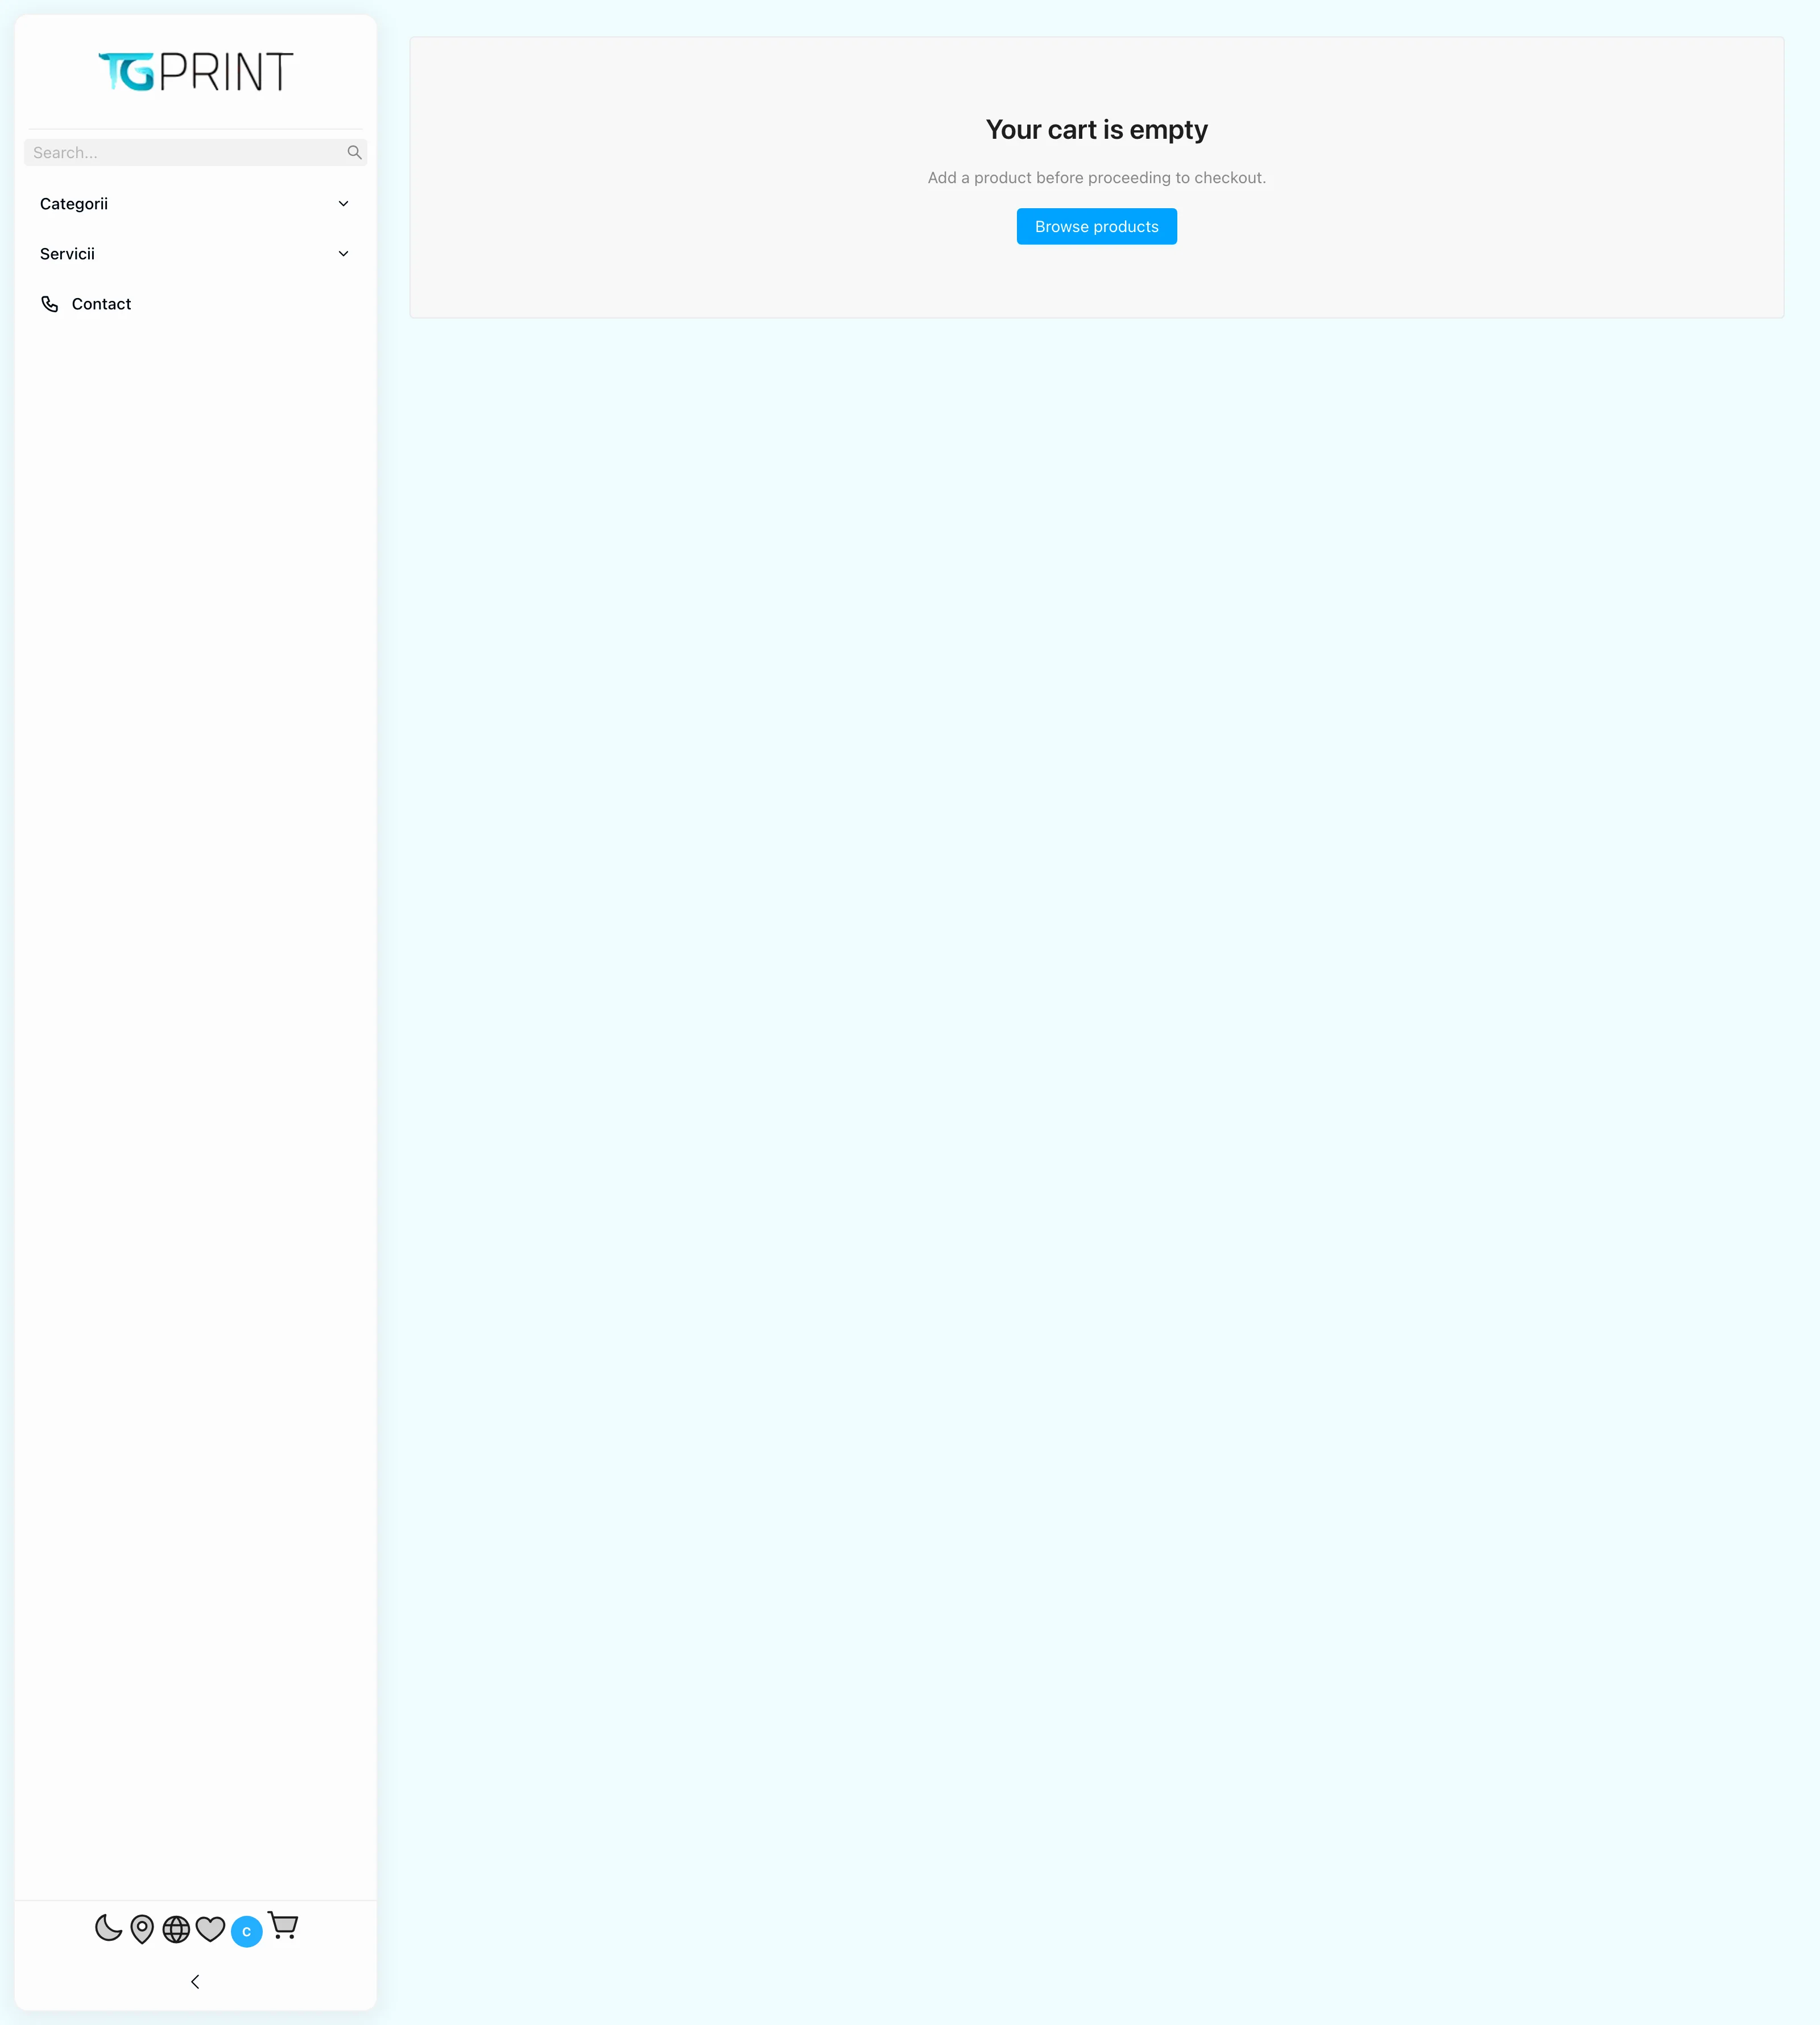
On the checkout page the customer fills in:
- The contact details — or he signs in to his account, in which case the details are prefilled. An order can also be placed without an account (a guest order).
- The delivery — one of the active methods from Settings → Delivery → Site Delivery: pickup from a branch or courier, with the address and the city. The delivery cost is added to the total according to the configured rules.
- The payment — one of the available methods: cash or transfer on pickup/delivery, online card payment (when a payment integration is active), or an invoice for legal entities, according to the configured payment terms.
- The confirmation — the order summary, the acceptance of the terms and the button that places the order.
Once it is placed, the customer receives a confirmation email with the order number, and in the panel the order shows up immediately under Orders, with its initial status (usually Awaiting artwork, if the artwork was not uploaded). See The order list.
5. The customer account
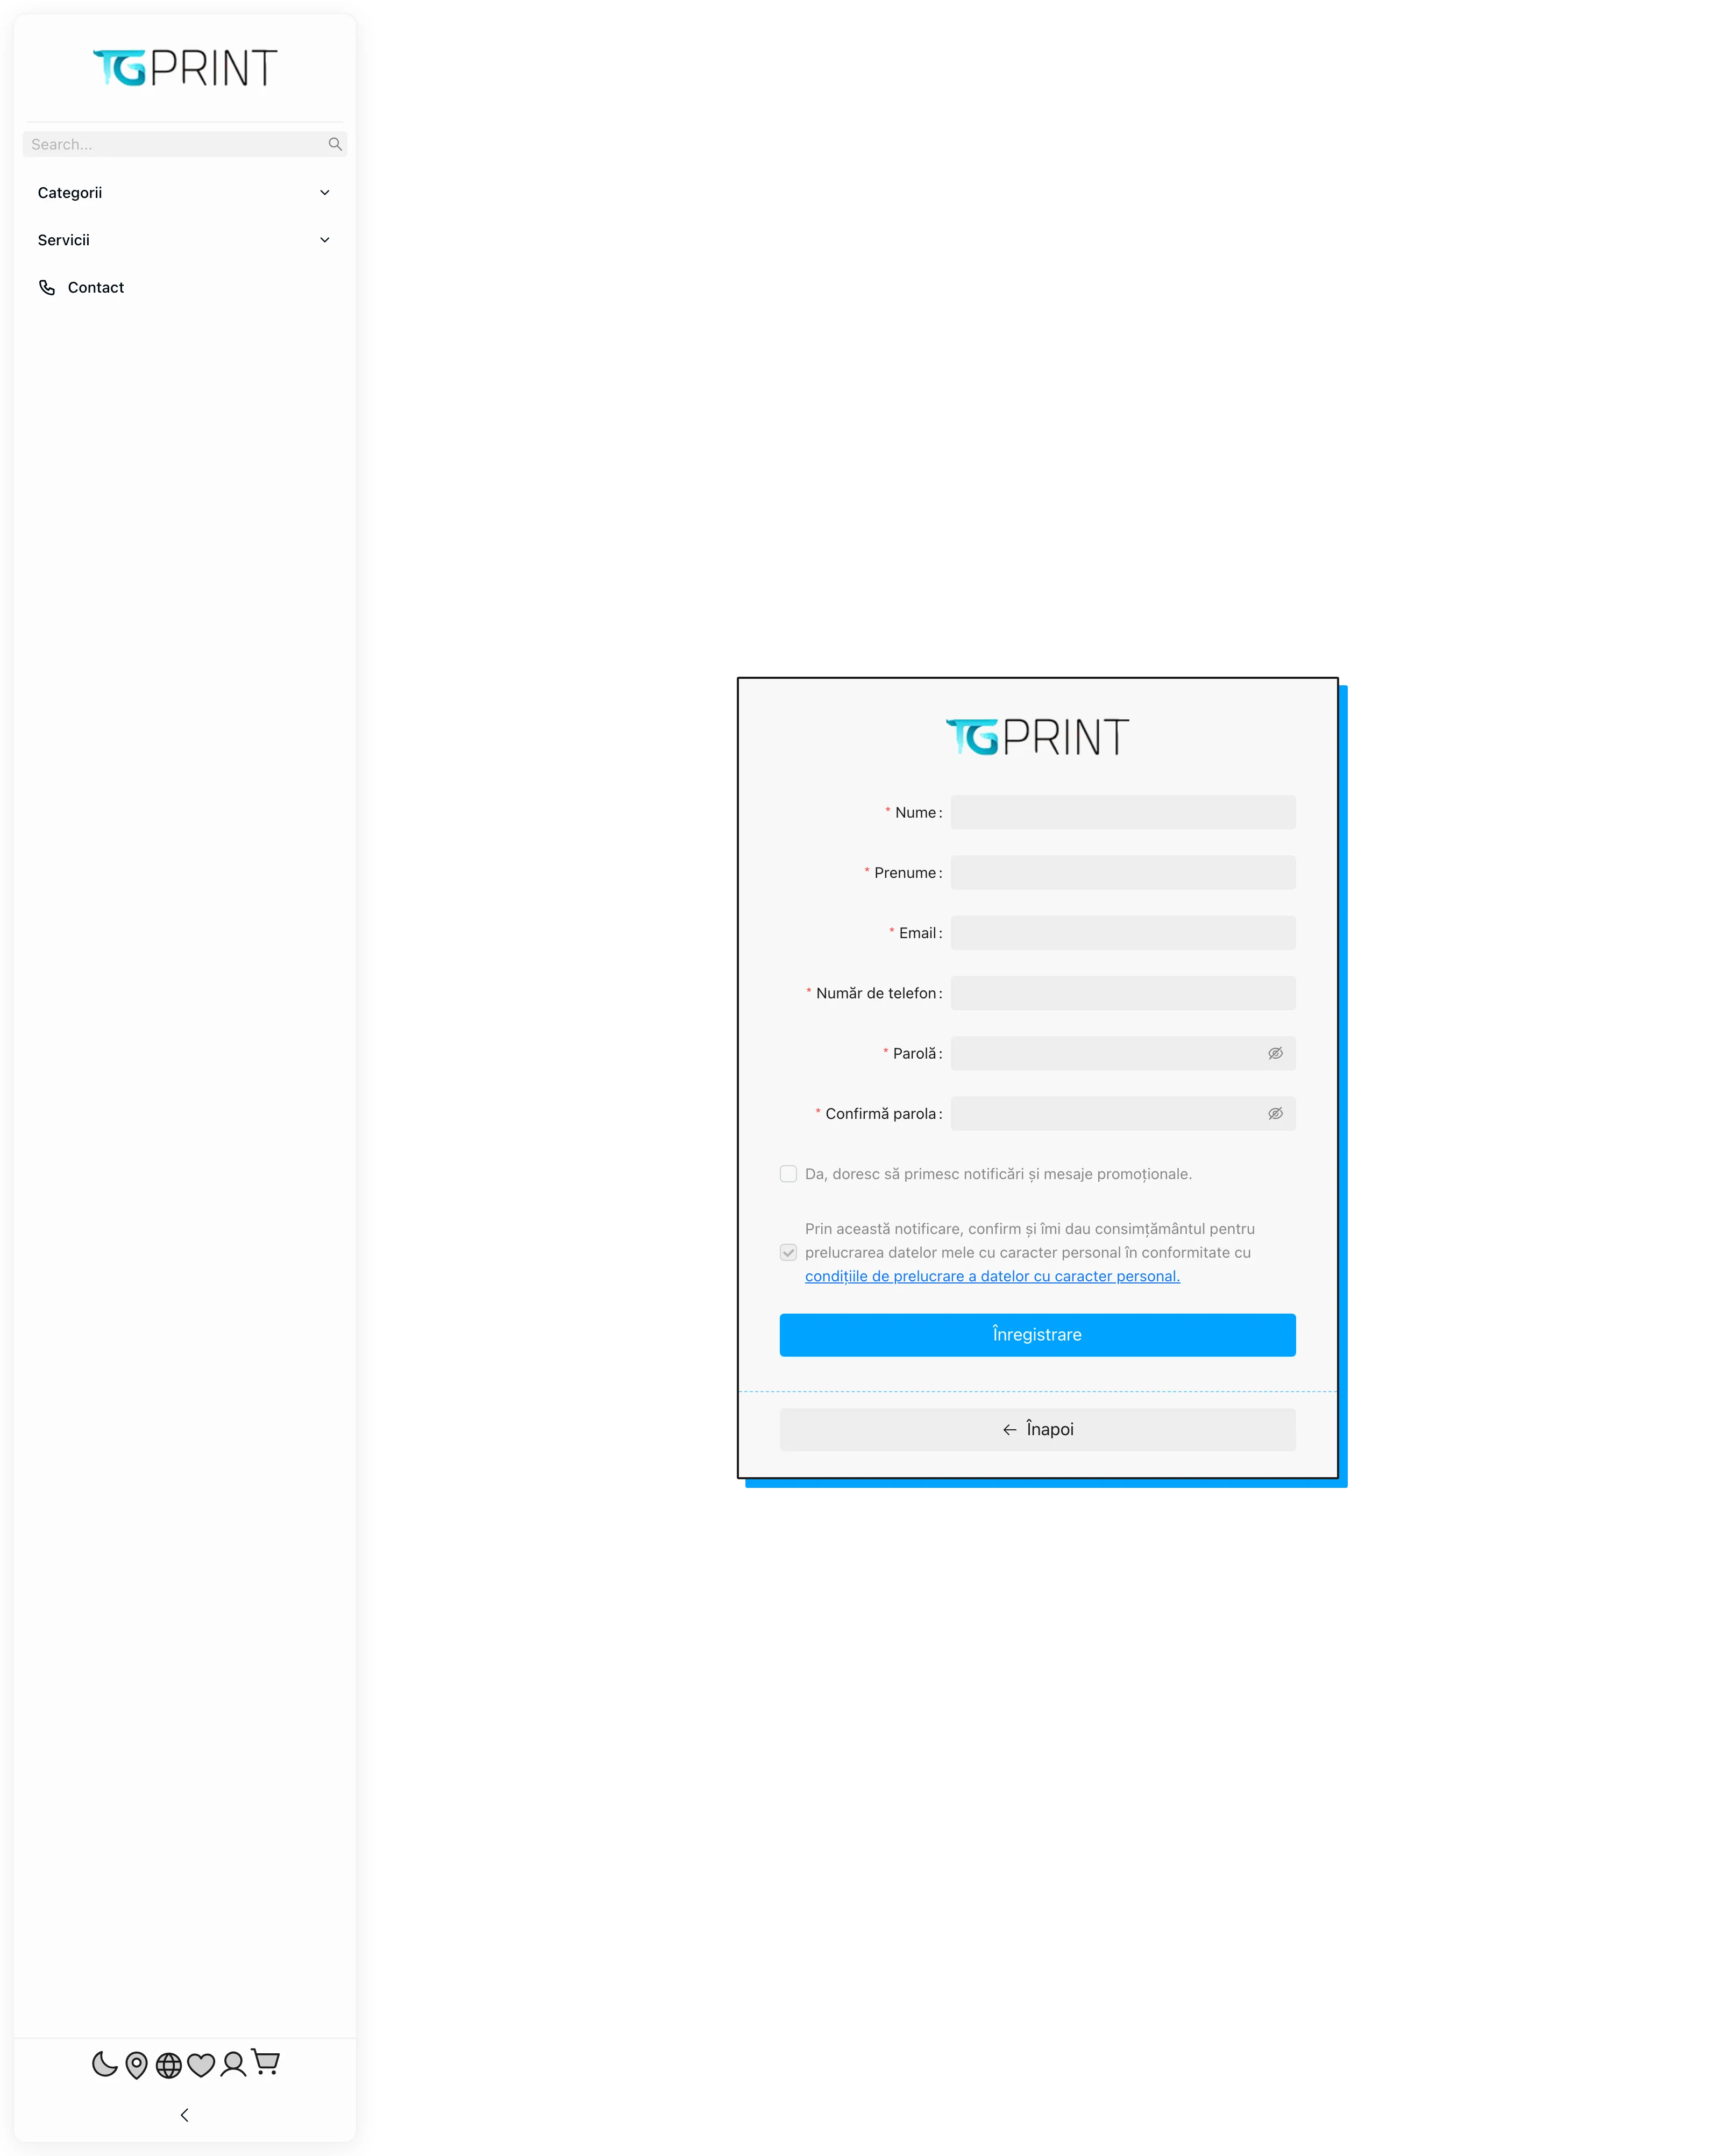
A customer can create an account on the website (Register: name, surname, email, phone, password, the data-processing consent and, optionally, the consent for promotional messages). Once the email is confirmed, from his account he sees the order history with the status of each order, can re-upload artwork, and manages his addresses and favourite products.
Every customer account appears in the panel under Shop → Contractors → Clients, where you can assign it a personal manager, a group with a discount or an internal note. See Customers, organizations and groups.