Overview
What the platform is made of, who uses it and how the admin panel is organised.
Updated:
TGPRINT has two faces. The storefront is the print shop's online store: the customer picks a product, configures its parameters in the price calculator, sees the price straight away, uploads the artwork and places the order. The admin panel is where the print shop's team works: it receives and processes orders, maintains the catalogue and the prices, publishes the website content and configures delivery, payments and the rest of the settings.
This guide describes the admin panel screen by screen, in the order of the left-hand menu. The chapter How a customer places an order also shows the part your customers see, so you understand where the orders you find in the panel come from.
Who uses the panel
Every account on the team has a role, and the role decides which screens and which actions are available. The platform ships with four predefined roles, which you can adjust or extend from Settings → All Users → Roles And Accesses:
- SuperAdmin — full access; this is the owner's system role and it cannot be deleted.
- Manager — works the orders and the customers: changes statuses, talks to the customer, creates orders from the panel.
- Operator — sees what has to be produced and marks the stages in the production queue.
- Accountant — invoices, reconciliation acts, returns.
If a screen from this guide does not appear in your menu, your role most likely lacks the corresponding permission. See Users, roles and managers.
How the screen is organised
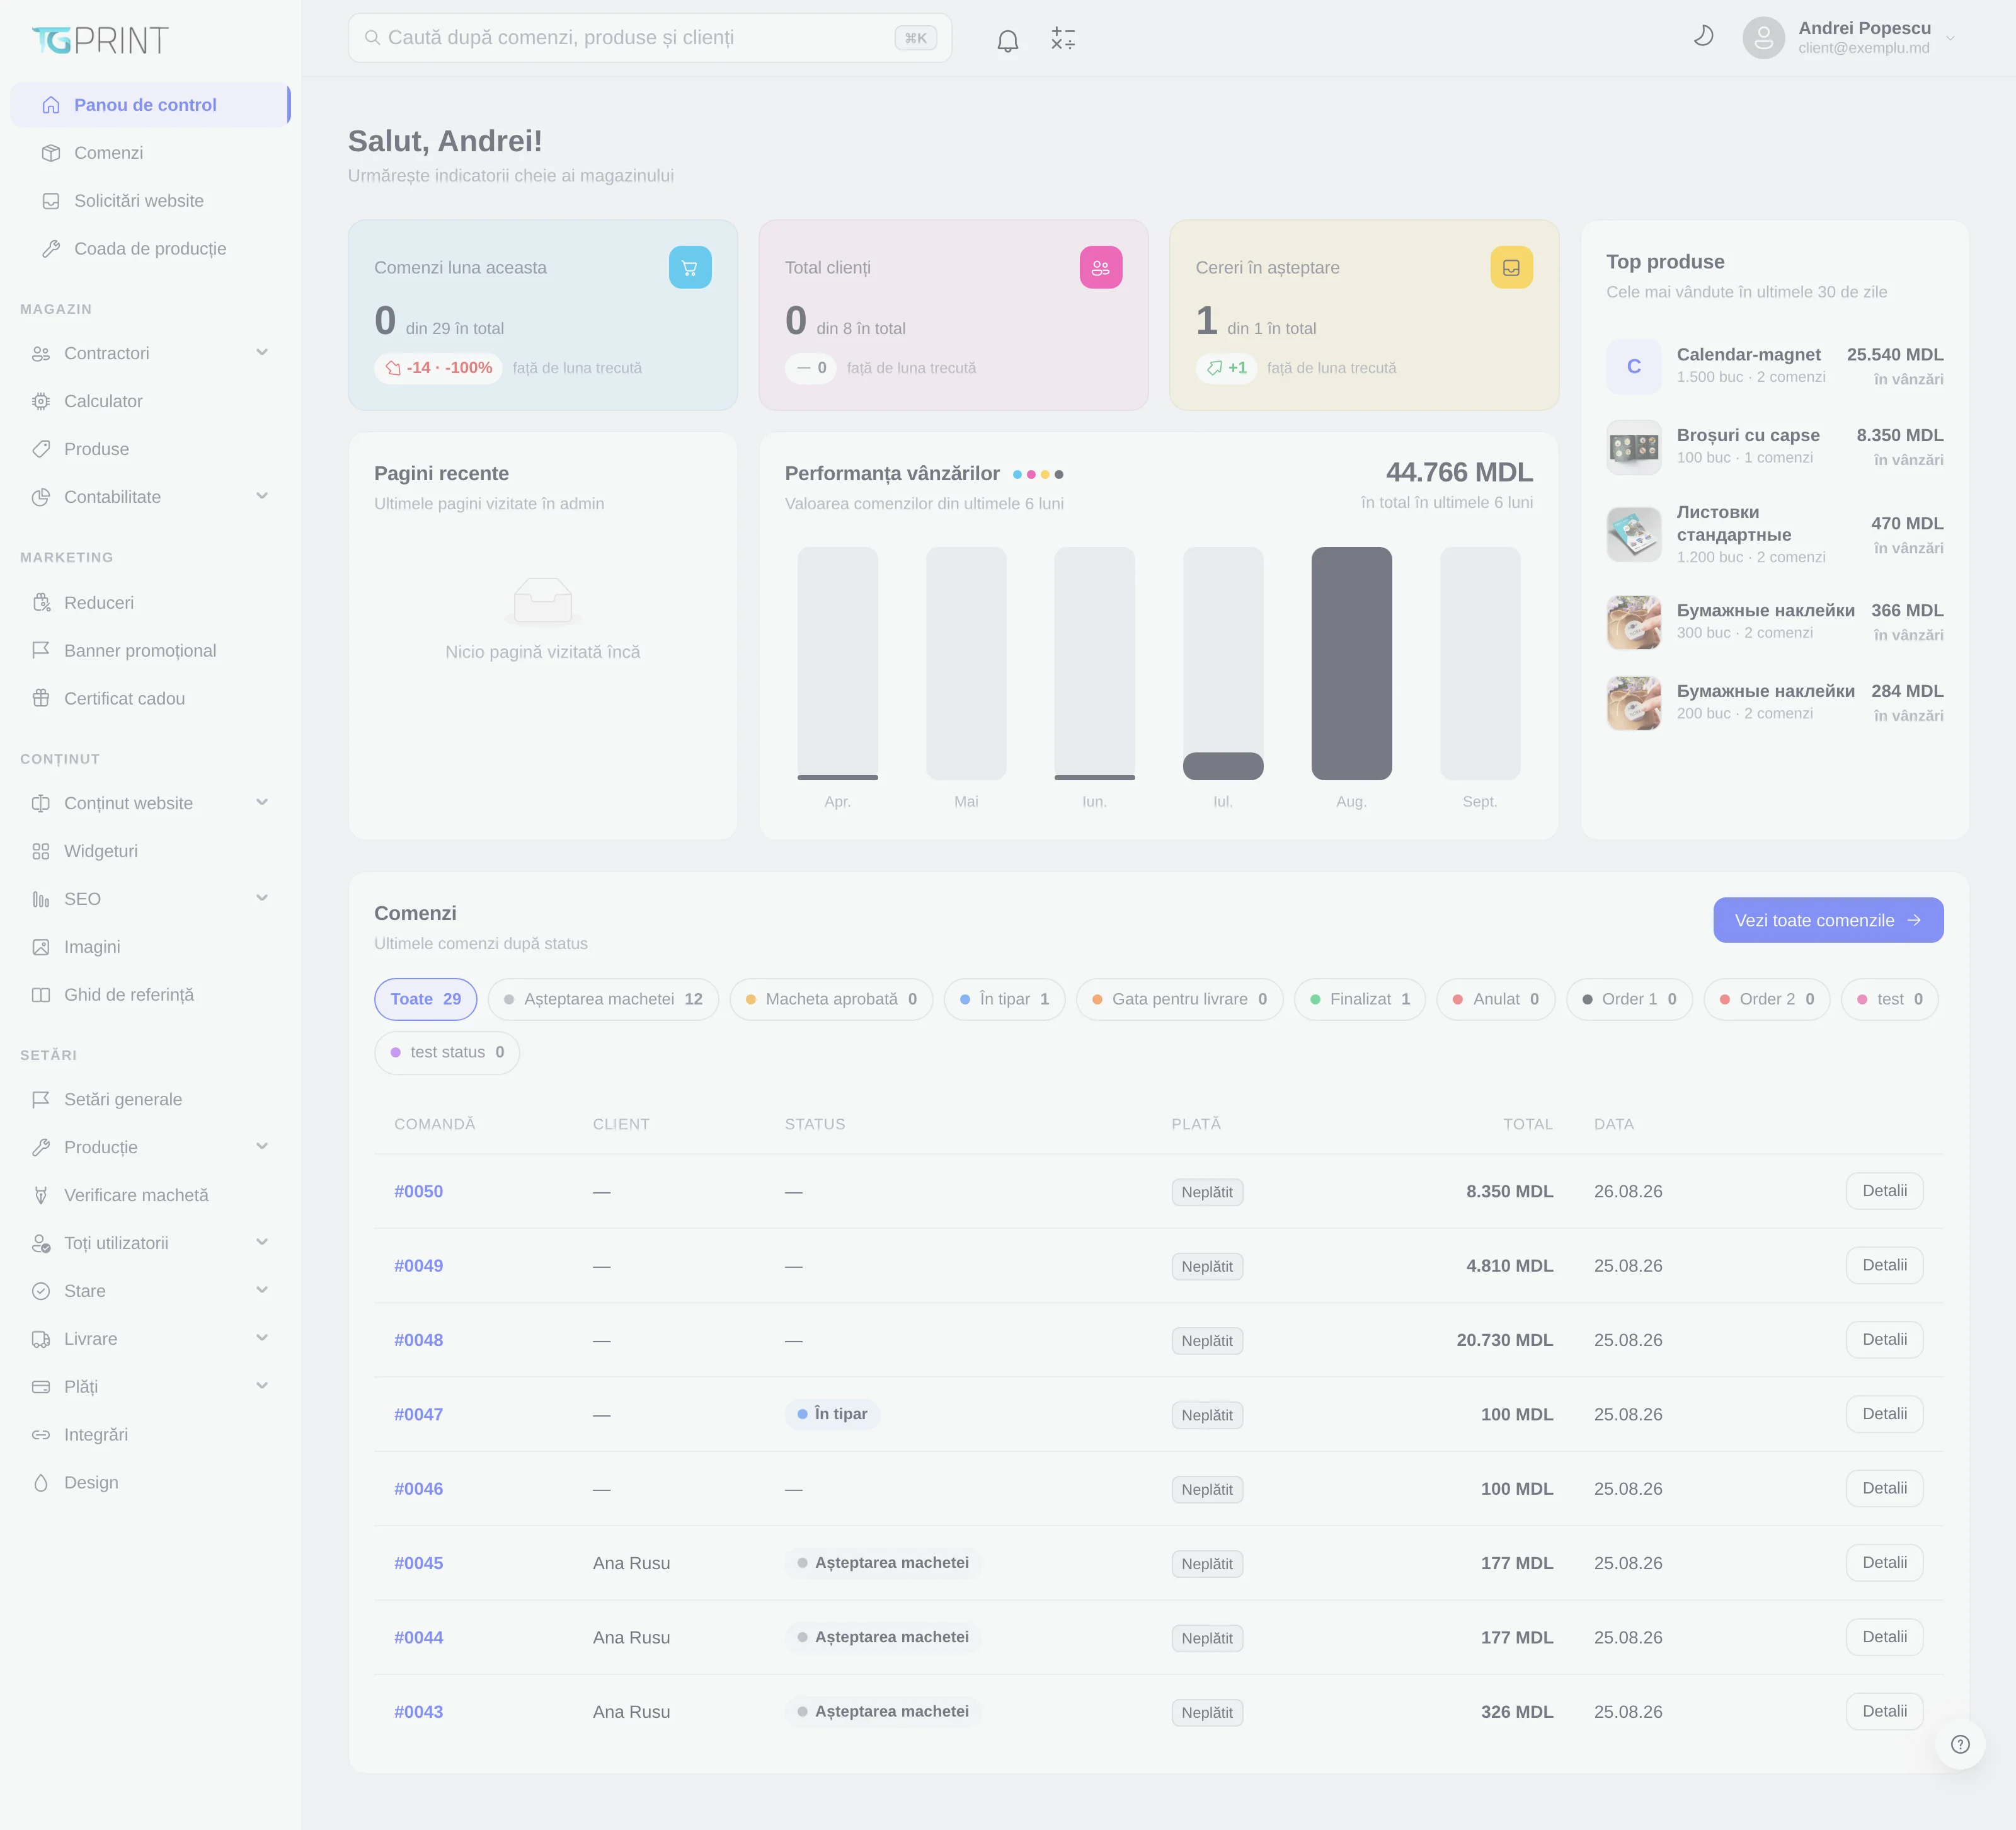
- The left-hand menu is always open and groups the screens by work area. The first four entries are the everyday ones — Dashboard, Orders, Website Requests, Production queue — and below them come the groups Shop, Marketing, Content and Settings. Entries with an arrow unfold into a submenu; the current screen stays highlighted, including when you are on a detail page (on a specific order, for example, Orders stays highlighted).
- The top bar holds the global search, the notifications bell, the light/dark theme switch and your account. Click your name for your profile and to sign out.
- The content area shows the screen you selected. List pages (orders, customers, products) have a row of actions at the top — Export, Add — and, below it, the filters and the table, while detail pages have the title and the breadcrumb (Shop / Contractors / Clients) right under the top bar.
Global search
The Search by Orders, Products and Clients field in the top bar finds an order by its number, a product by its name or a customer by name or email, whatever screen you happen to be on. The ⌘K shortcut (on Windows Ctrl+K) moves the cursor straight into the field.
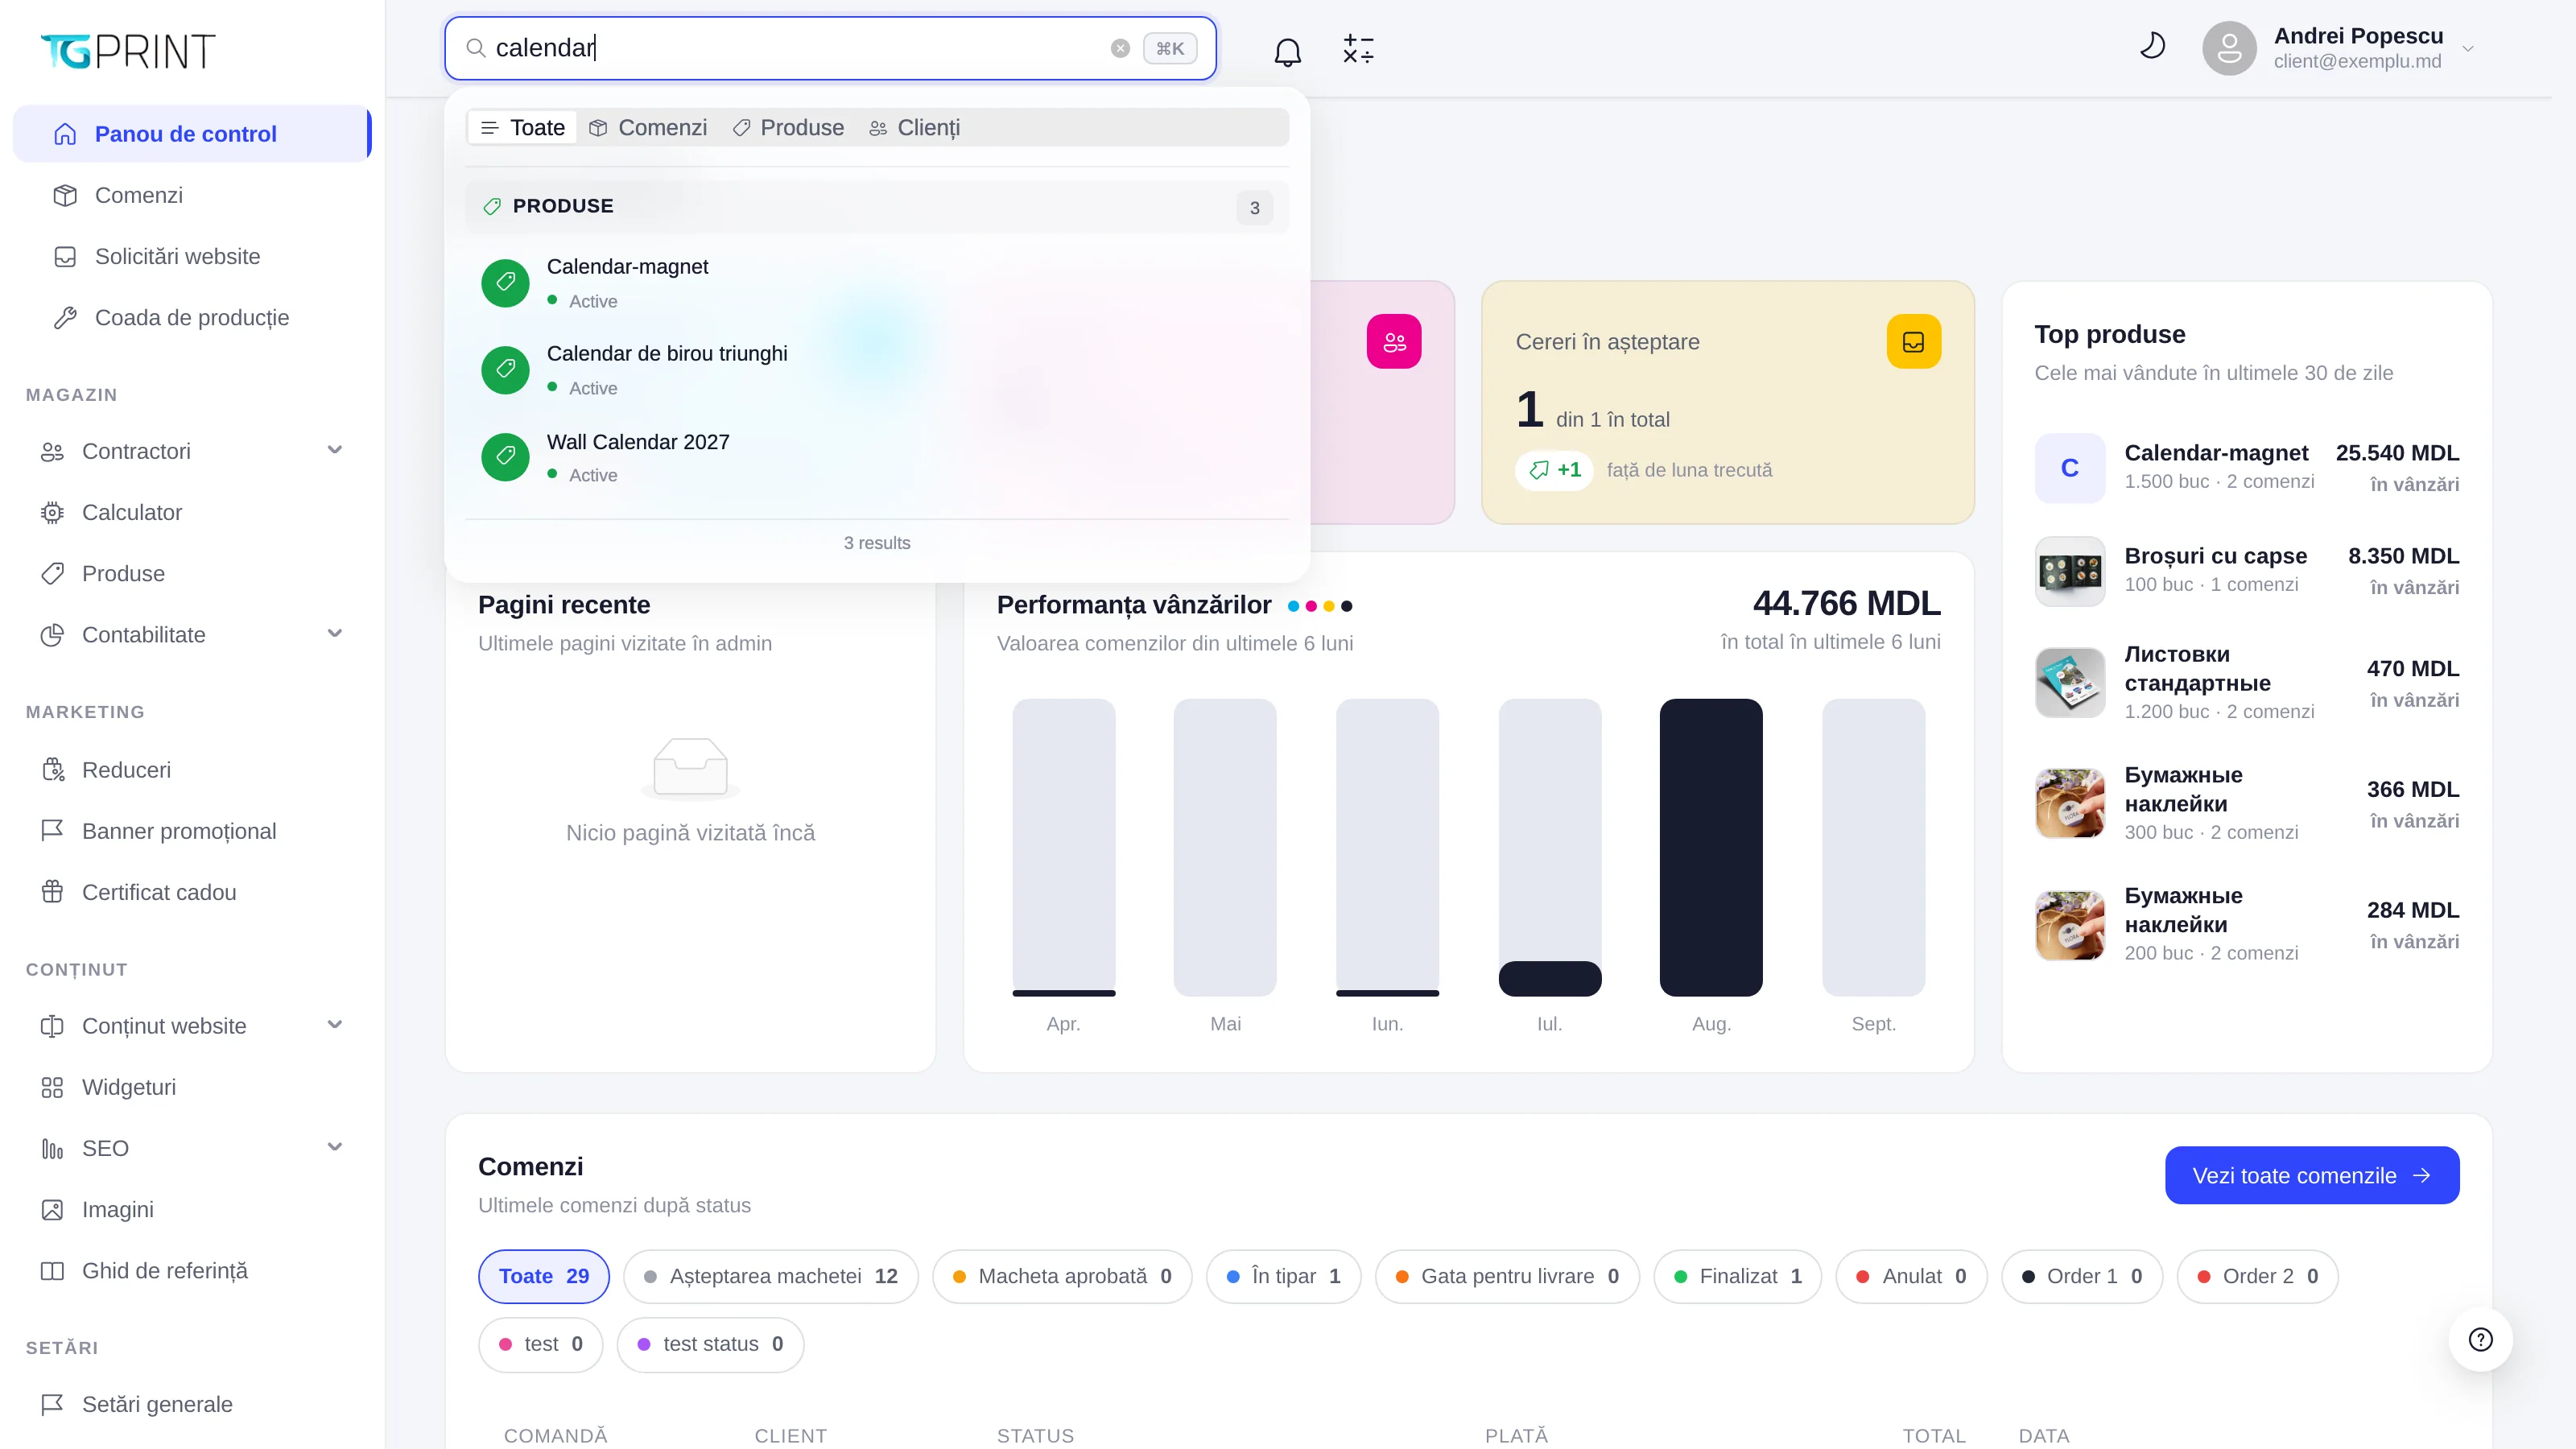
Note. The global search covers orders, products and customers. For website requests, invoices or widgets, use the search on that particular screen.
Conventions used in this guide
- The names of on-screen elements are written in bold, exactly as they appear in the English interface: Add Product, Save.
- A menu path is written with arrows: Settings → Delivery → Branches means the Settings group, the Delivery entry, the Branches sub-entry.
- The screenshots were taken on a demo store with fictional data; the numbers and names in them have nothing to do with your store.
- The panel's interface is available in Romanian, Russian and English. This guide uses the English names; if your panel is in another language, change the language in your account or look for the equivalent by its position in the menu.