SEO
The general SEO settings, 301 redirects, meta tags, the sitemap, robots.txt and the site crawl.
Updated:
The Content → SEO group gathers the tools for search engines: six screens, each with its own menu entry. Their interface is in English; the terms below are the ones on screen.
General Settings
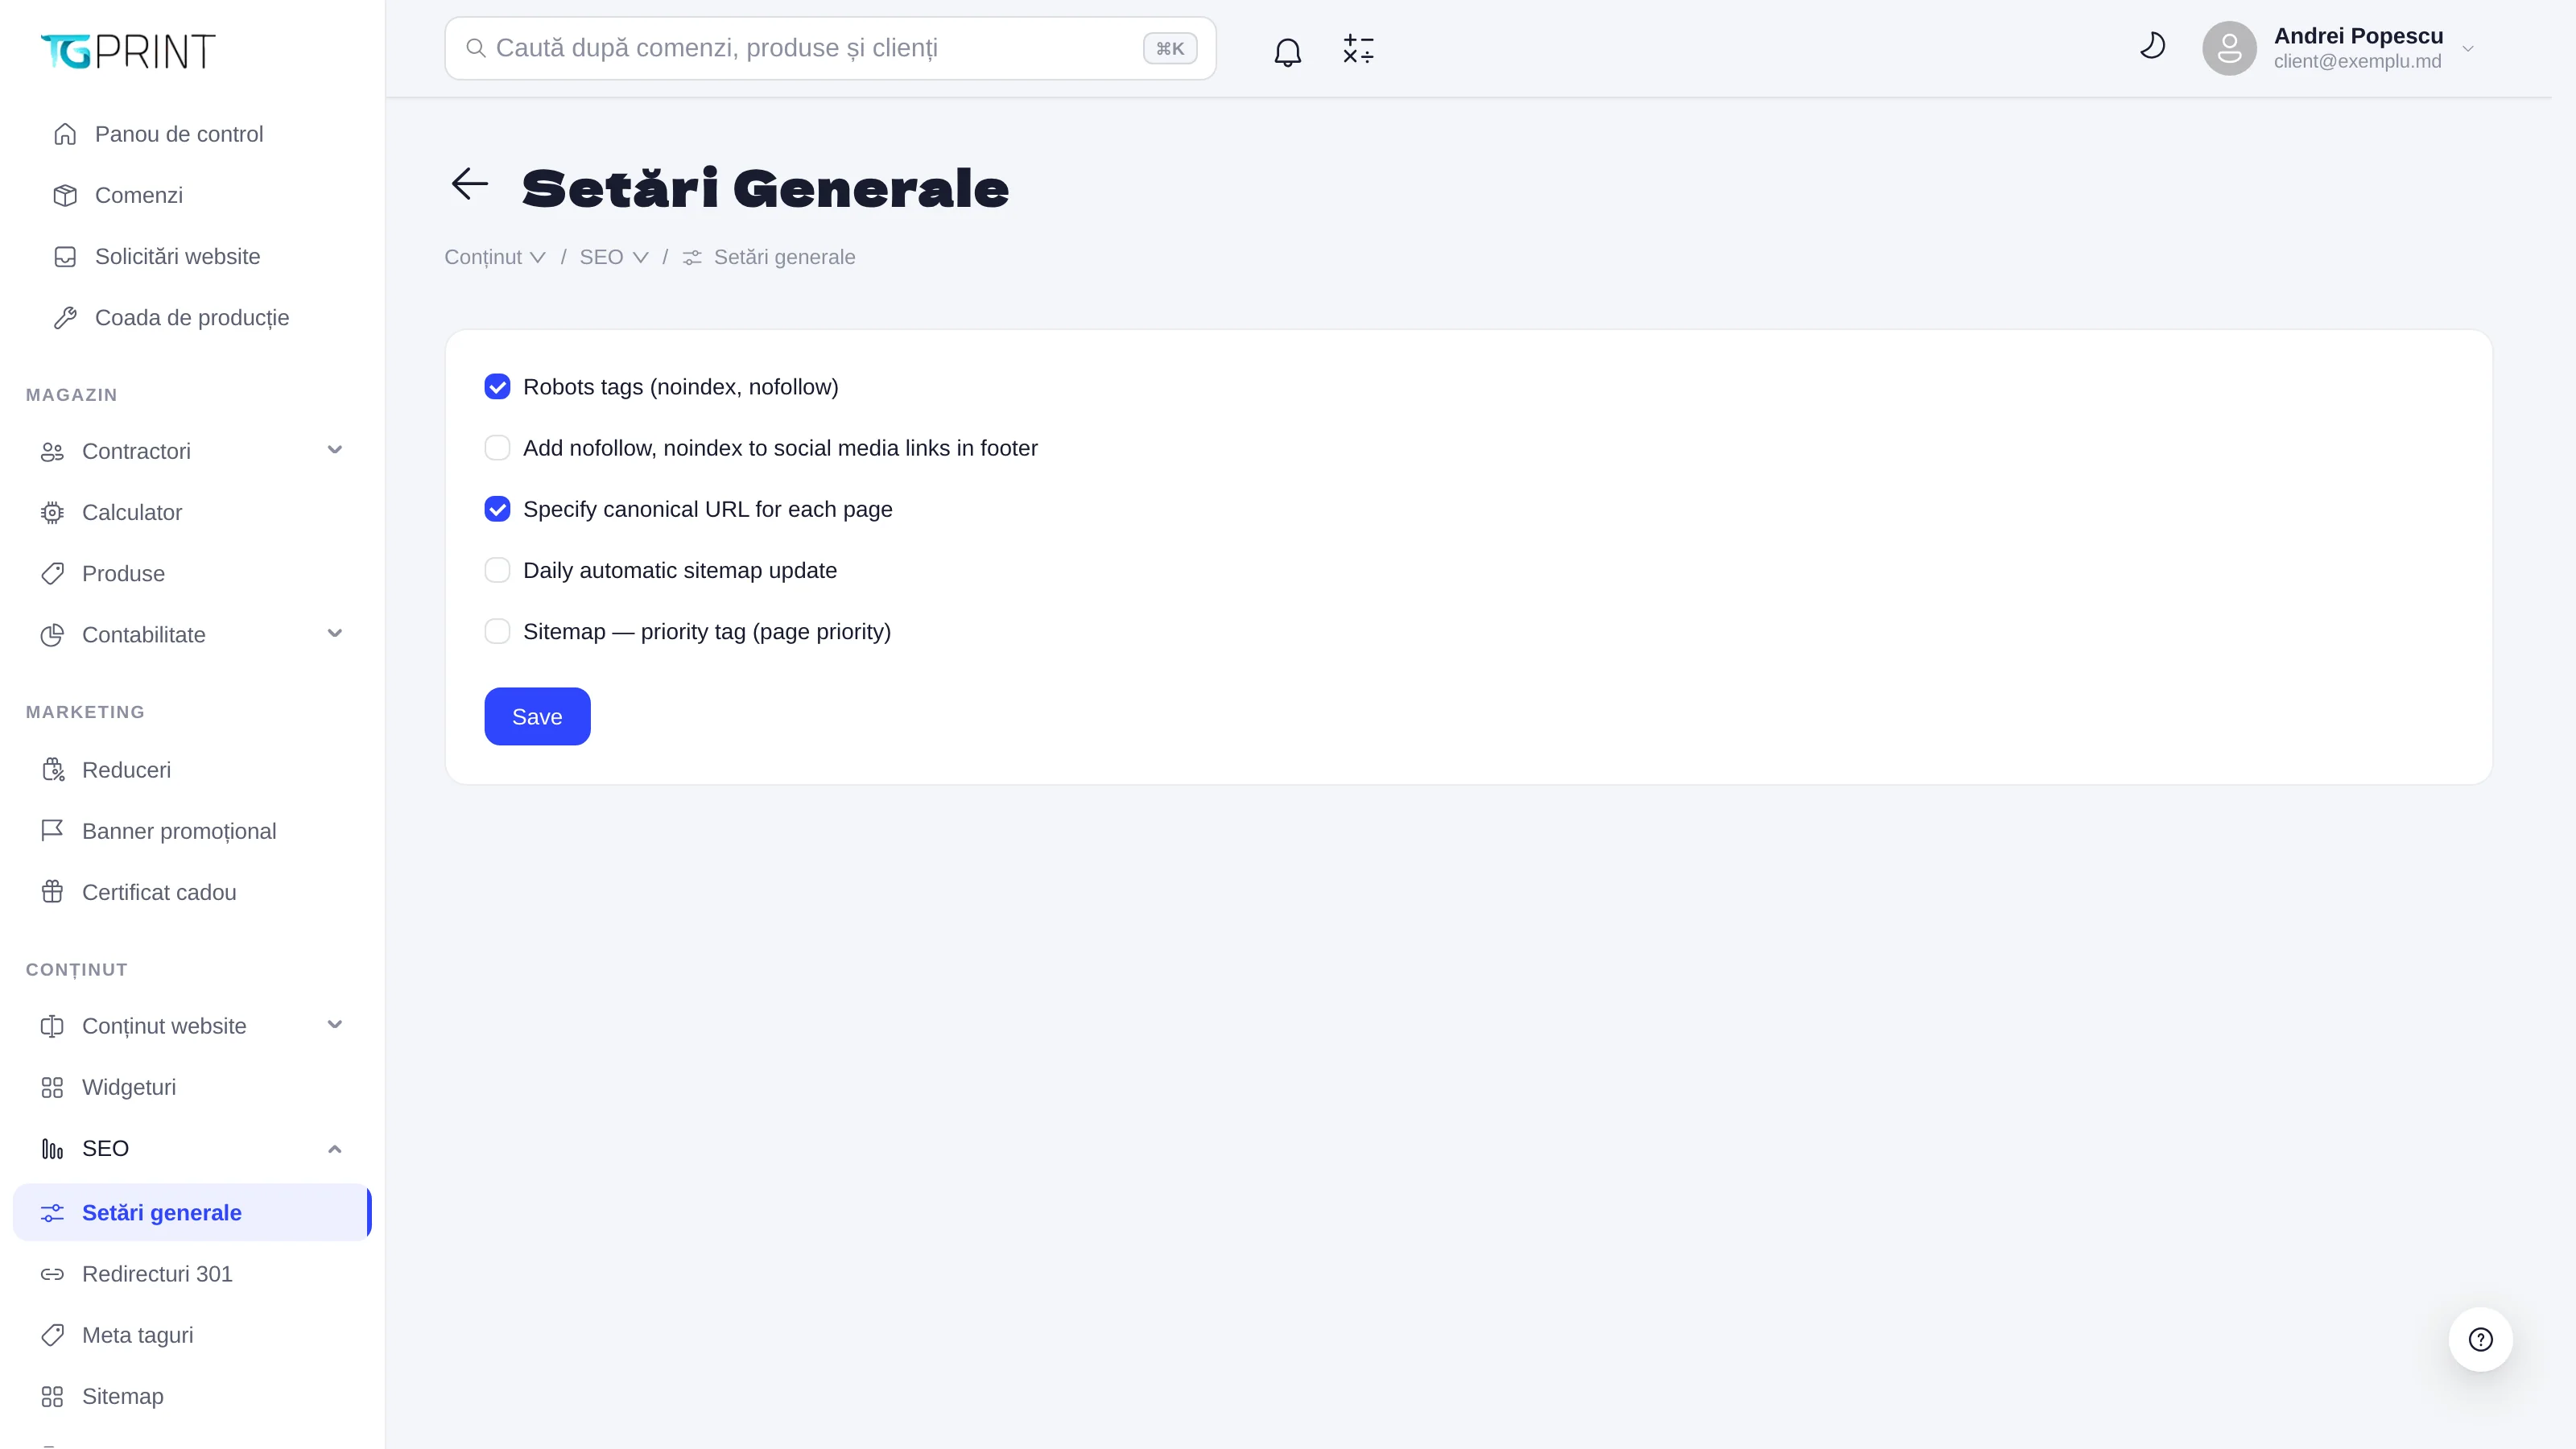
Five tick-box options, at site level:
- Robots tags (noindex, nofollow) — the robots tags that ask search engines not to index the pages and not to follow the links on them.
- Add nofollow, noindex to social media links in footer — the same attributes for the links to social media in the footer.
- Specify canonical URL for each page — every page declares its own canonical address.
- Daily automatic sitemap update — the daily update of the sitemap.
- Sitemap — priority tag (page priority) — including the page priority tag in the sitemap.
Tick the options you want and click Save.
301 Redirects
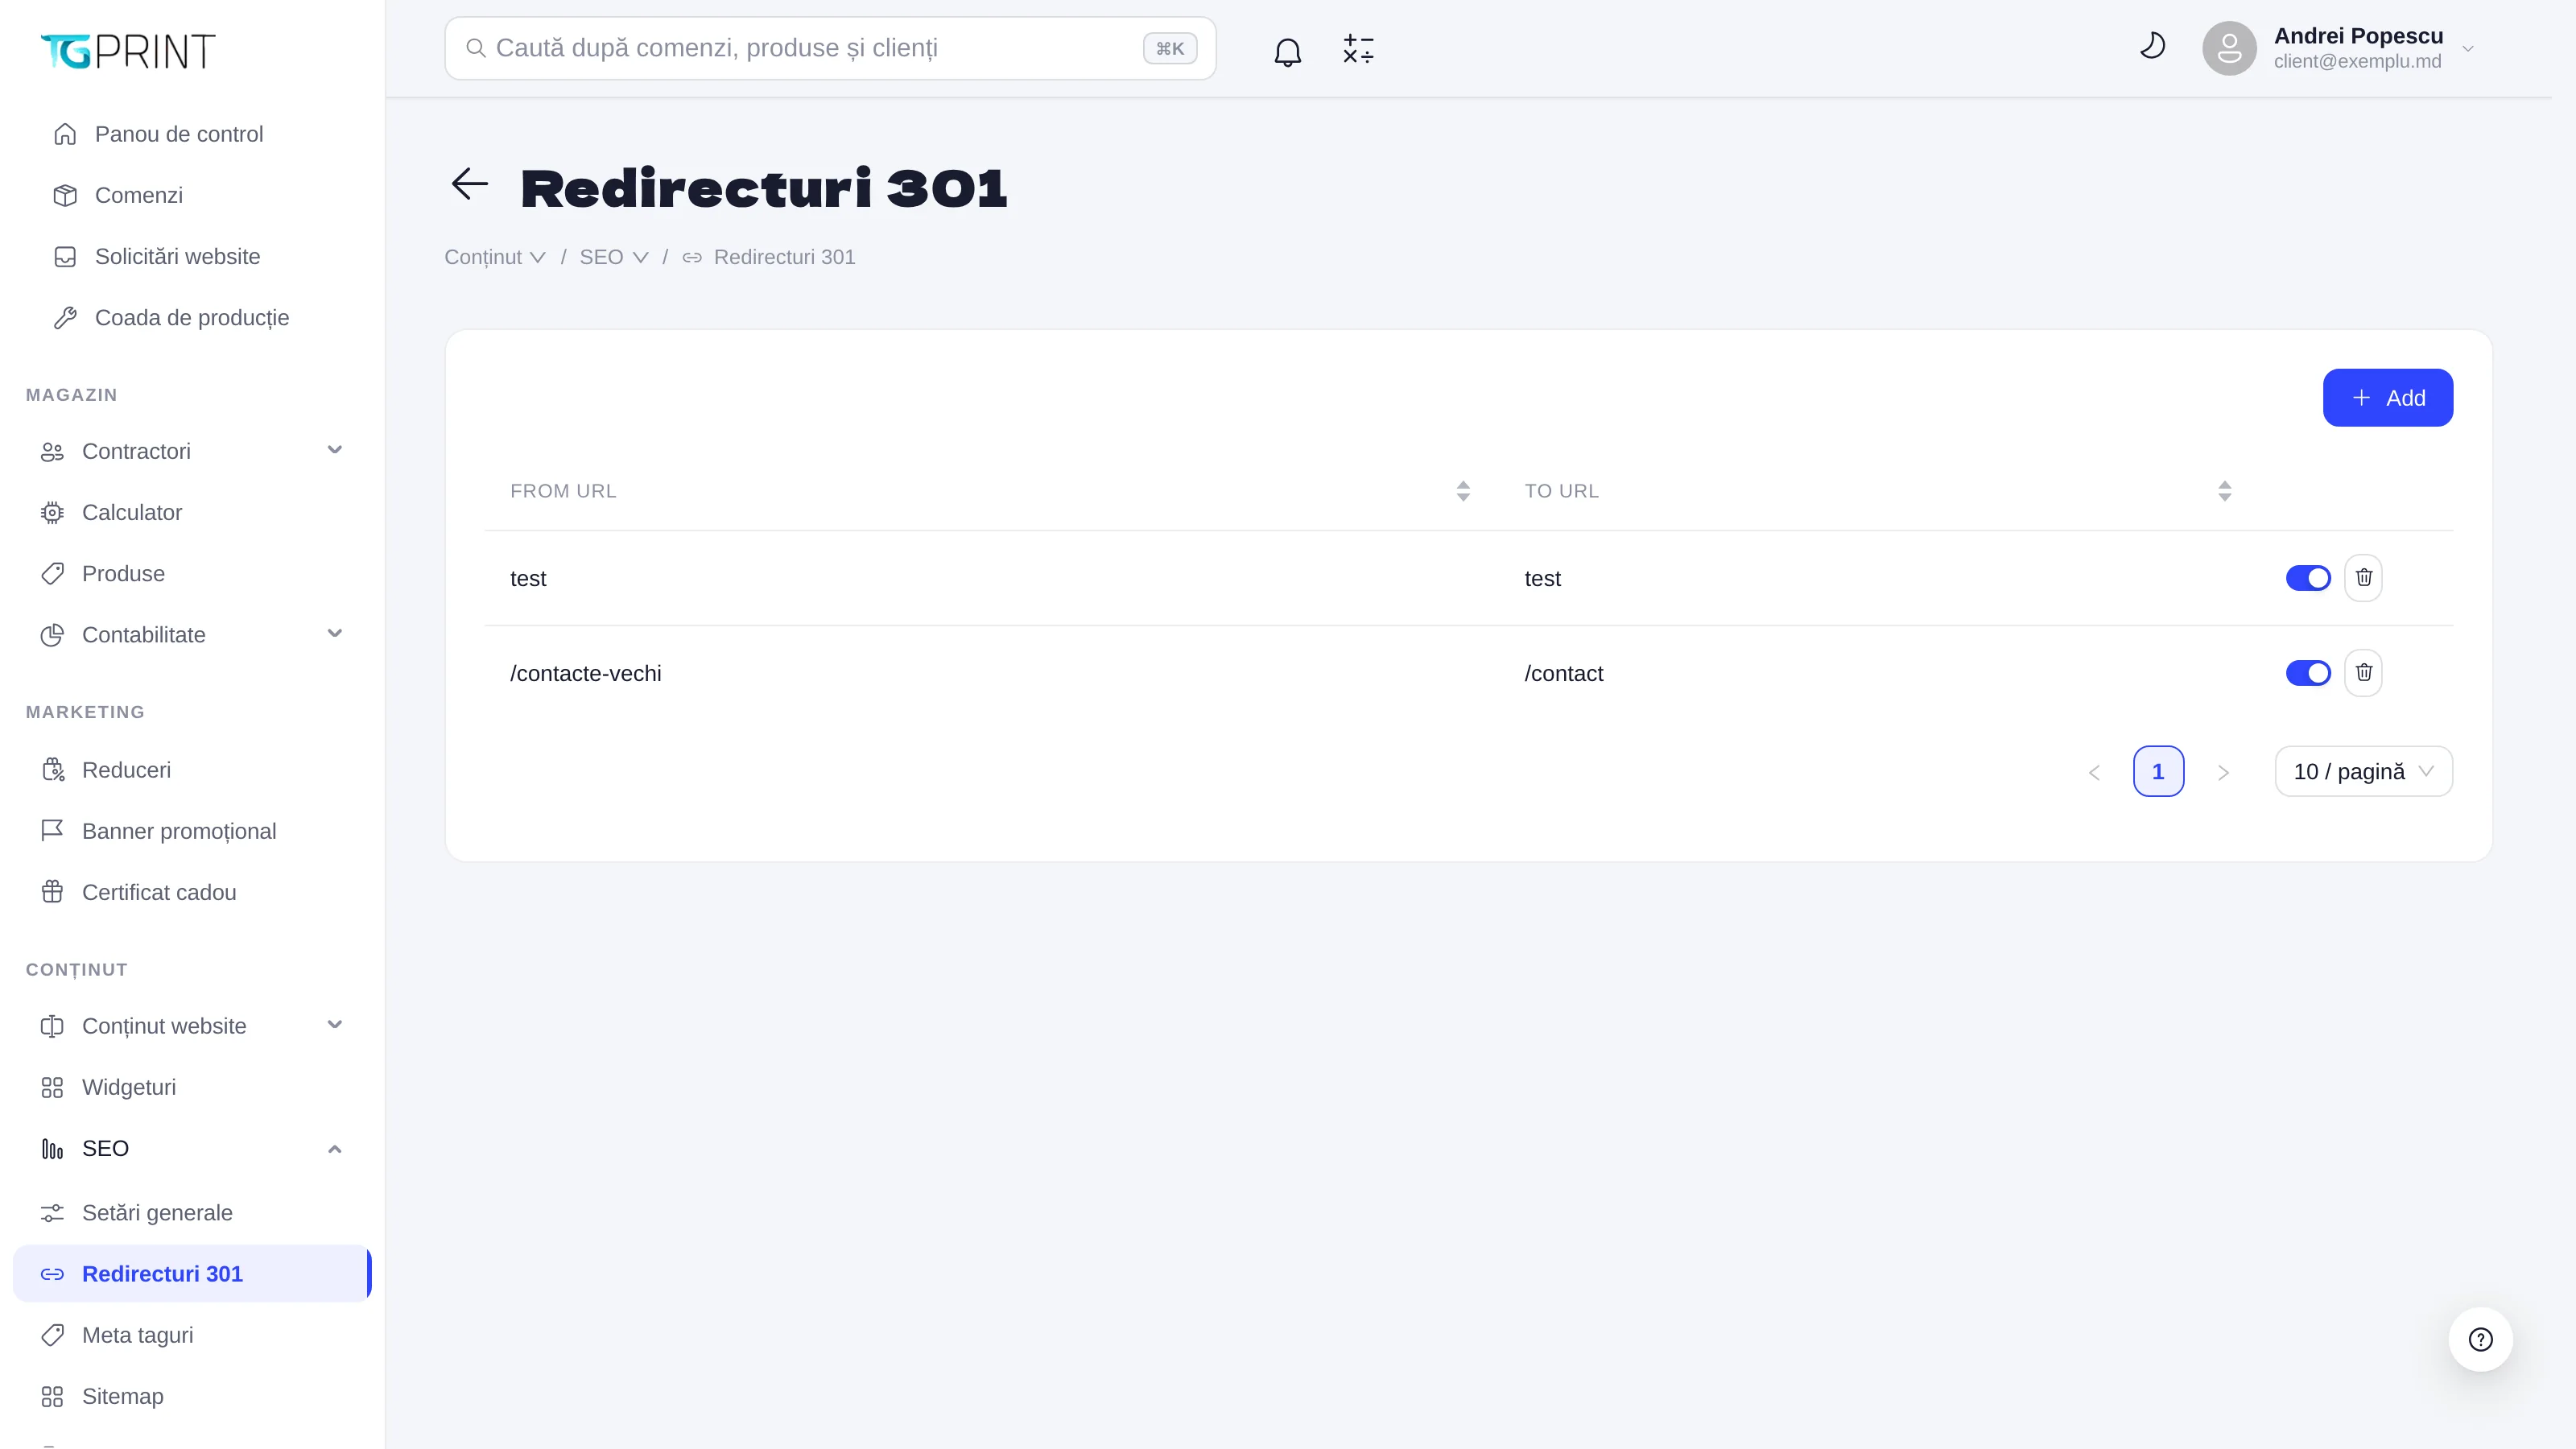
A 301 redirect sends the visitor (and the search engines) from an old address to a new one — useful when you rename a page or a product. The table shows From URL and To URL; the toggle on the right activates or suspends the redirect without deleting it, and the bin deletes it.
- Click Add.
- Fill in From URL (the old path, for example
/old-page) and To URL (the new path). One source address can have only one redirect. - Leave Status on Enabled and click Save. Click a row in the list to edit it.
The site applies the active redirects for anyone who opens the old address; a change becomes visible within a minute at most.
Meta Tags
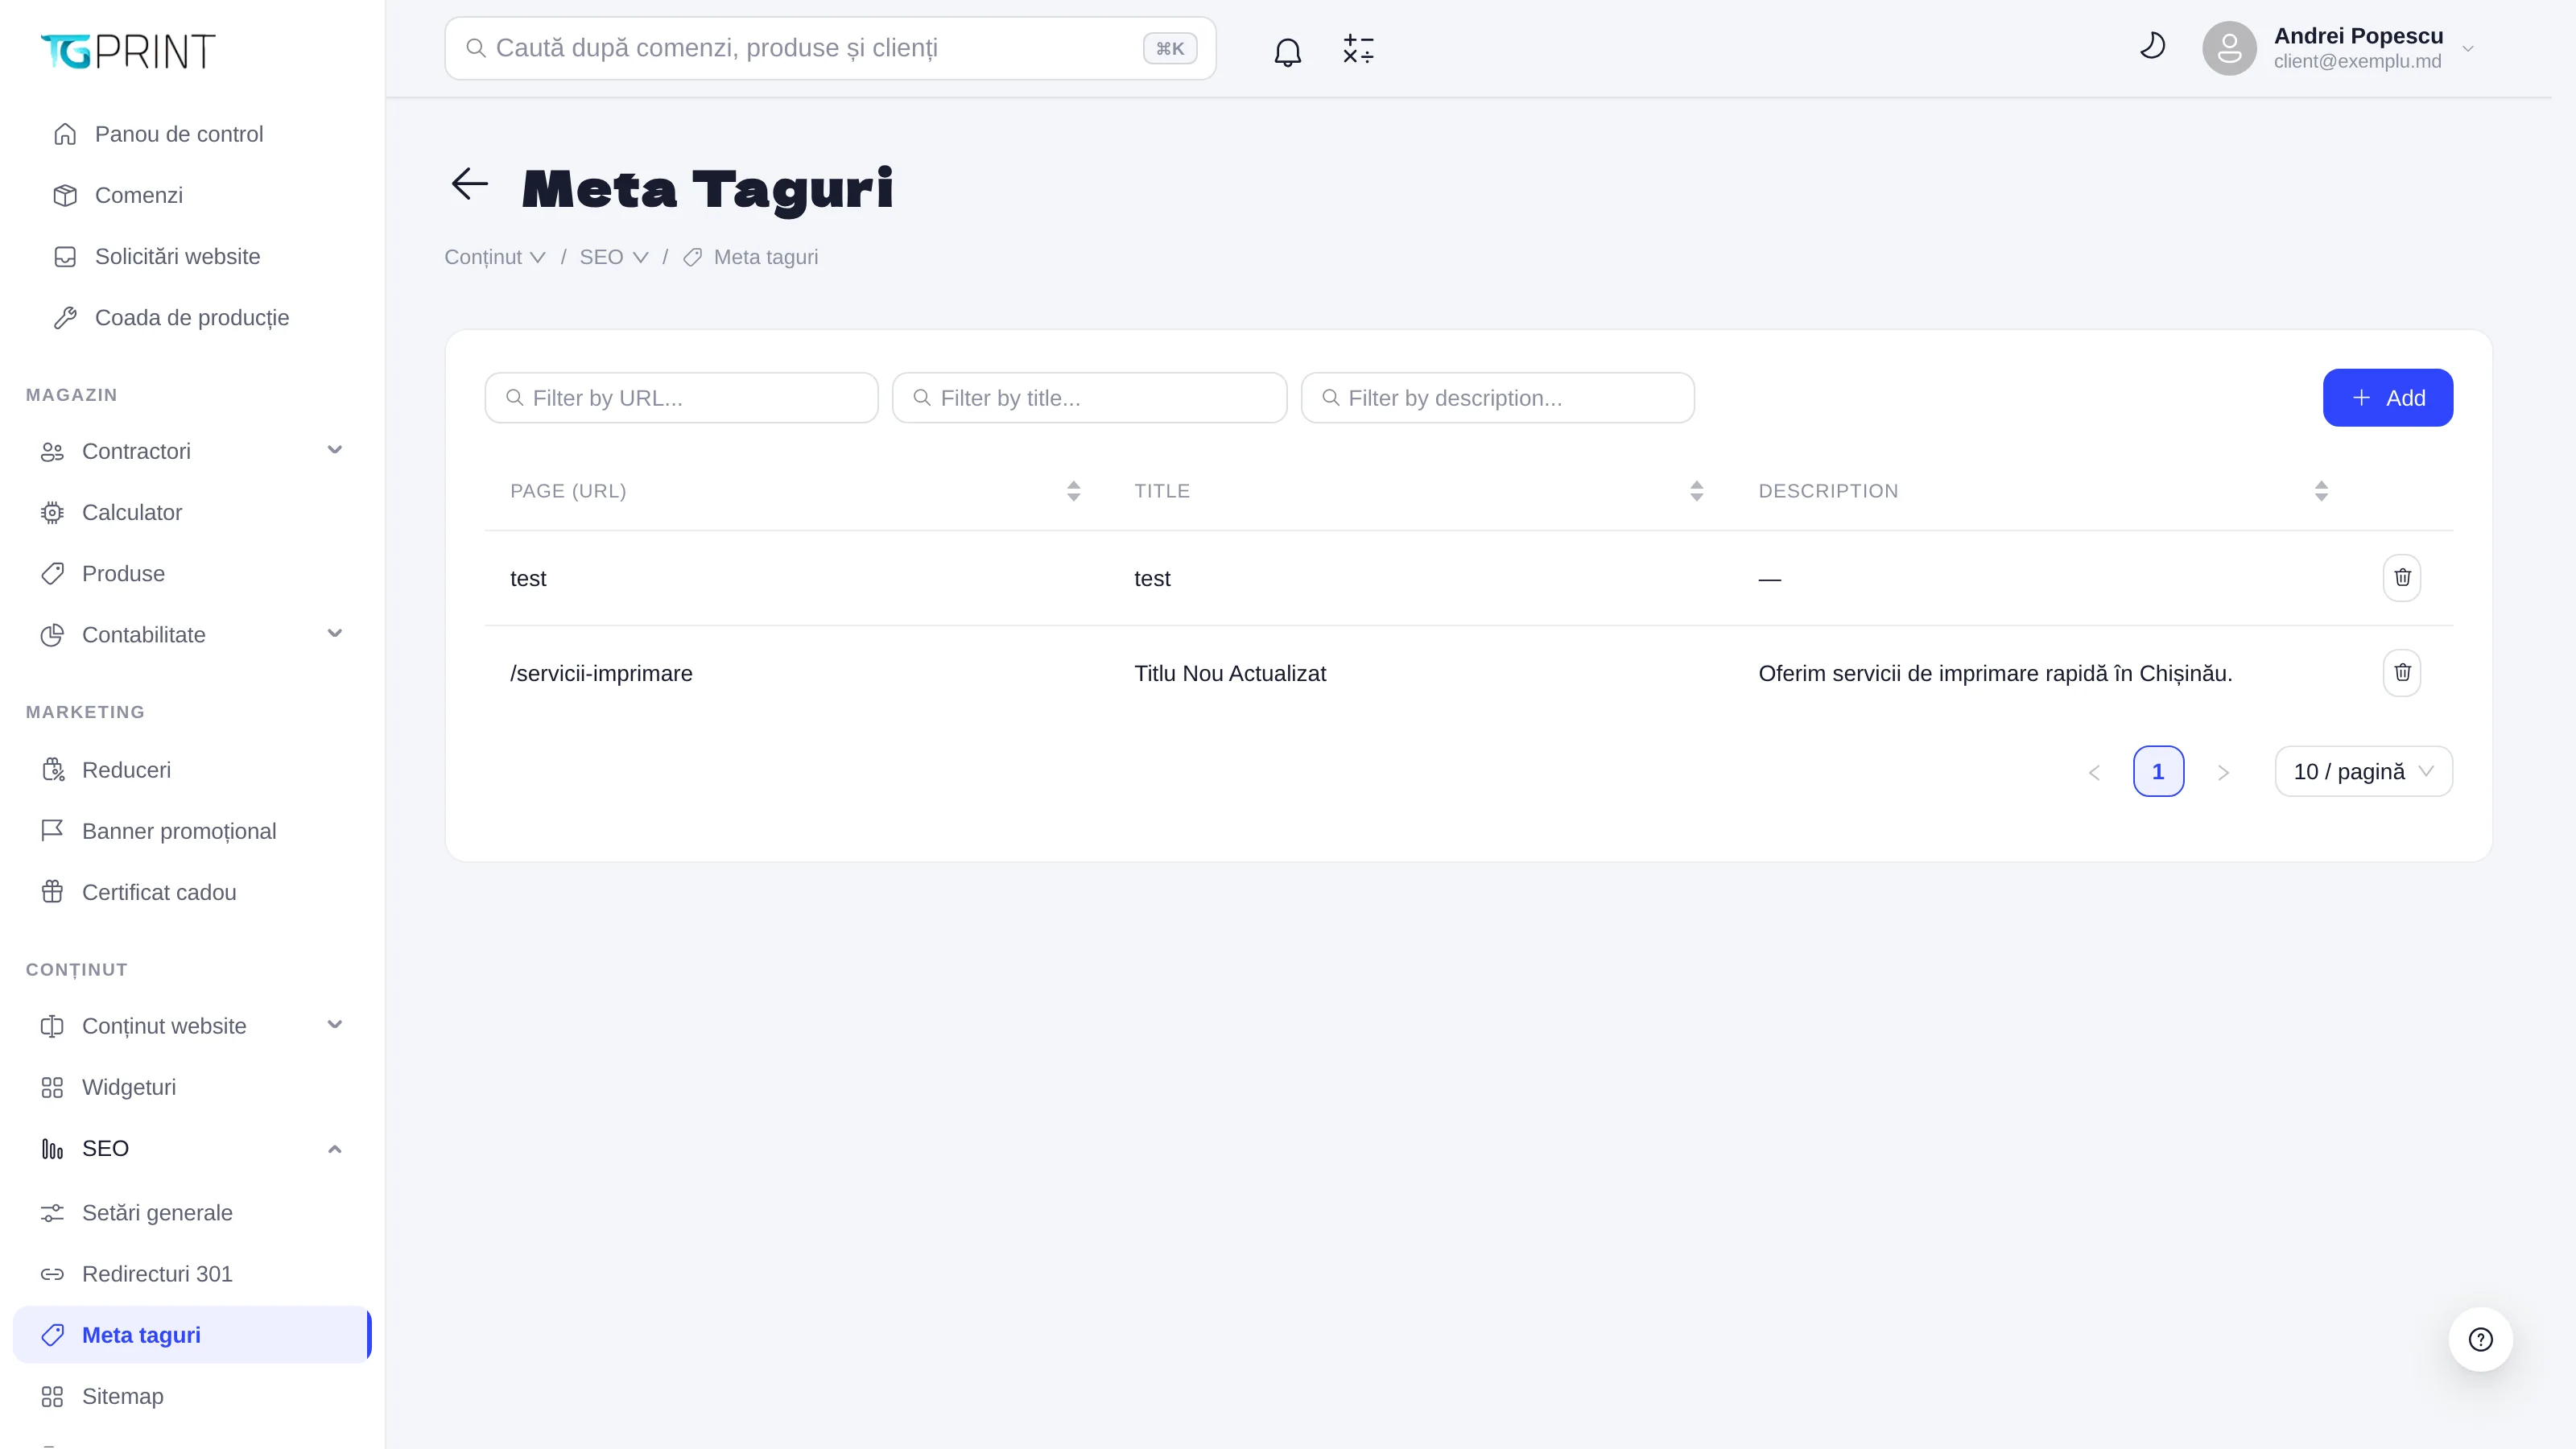
Here you override the title and the description search engines see for a given address. The table has the columns Page (URL), Title and Description, the Filter by URL..., Filter by title..., Filter by description... filters and the delete bin.
- Click Add.
- Page (URL) — the path of the page (for example
/example-page); one record per address. - Title (required), Description, Keywords (comma-separated) and Canonical link.
- The index / noindex and follow / nofollow toggles — the robots tags of the page.
- Click Save.
On content pages (see Pages), the record here takes precedence over the SEO fields of the page itself; the site picks it up within five minutes at most.
Sitemap
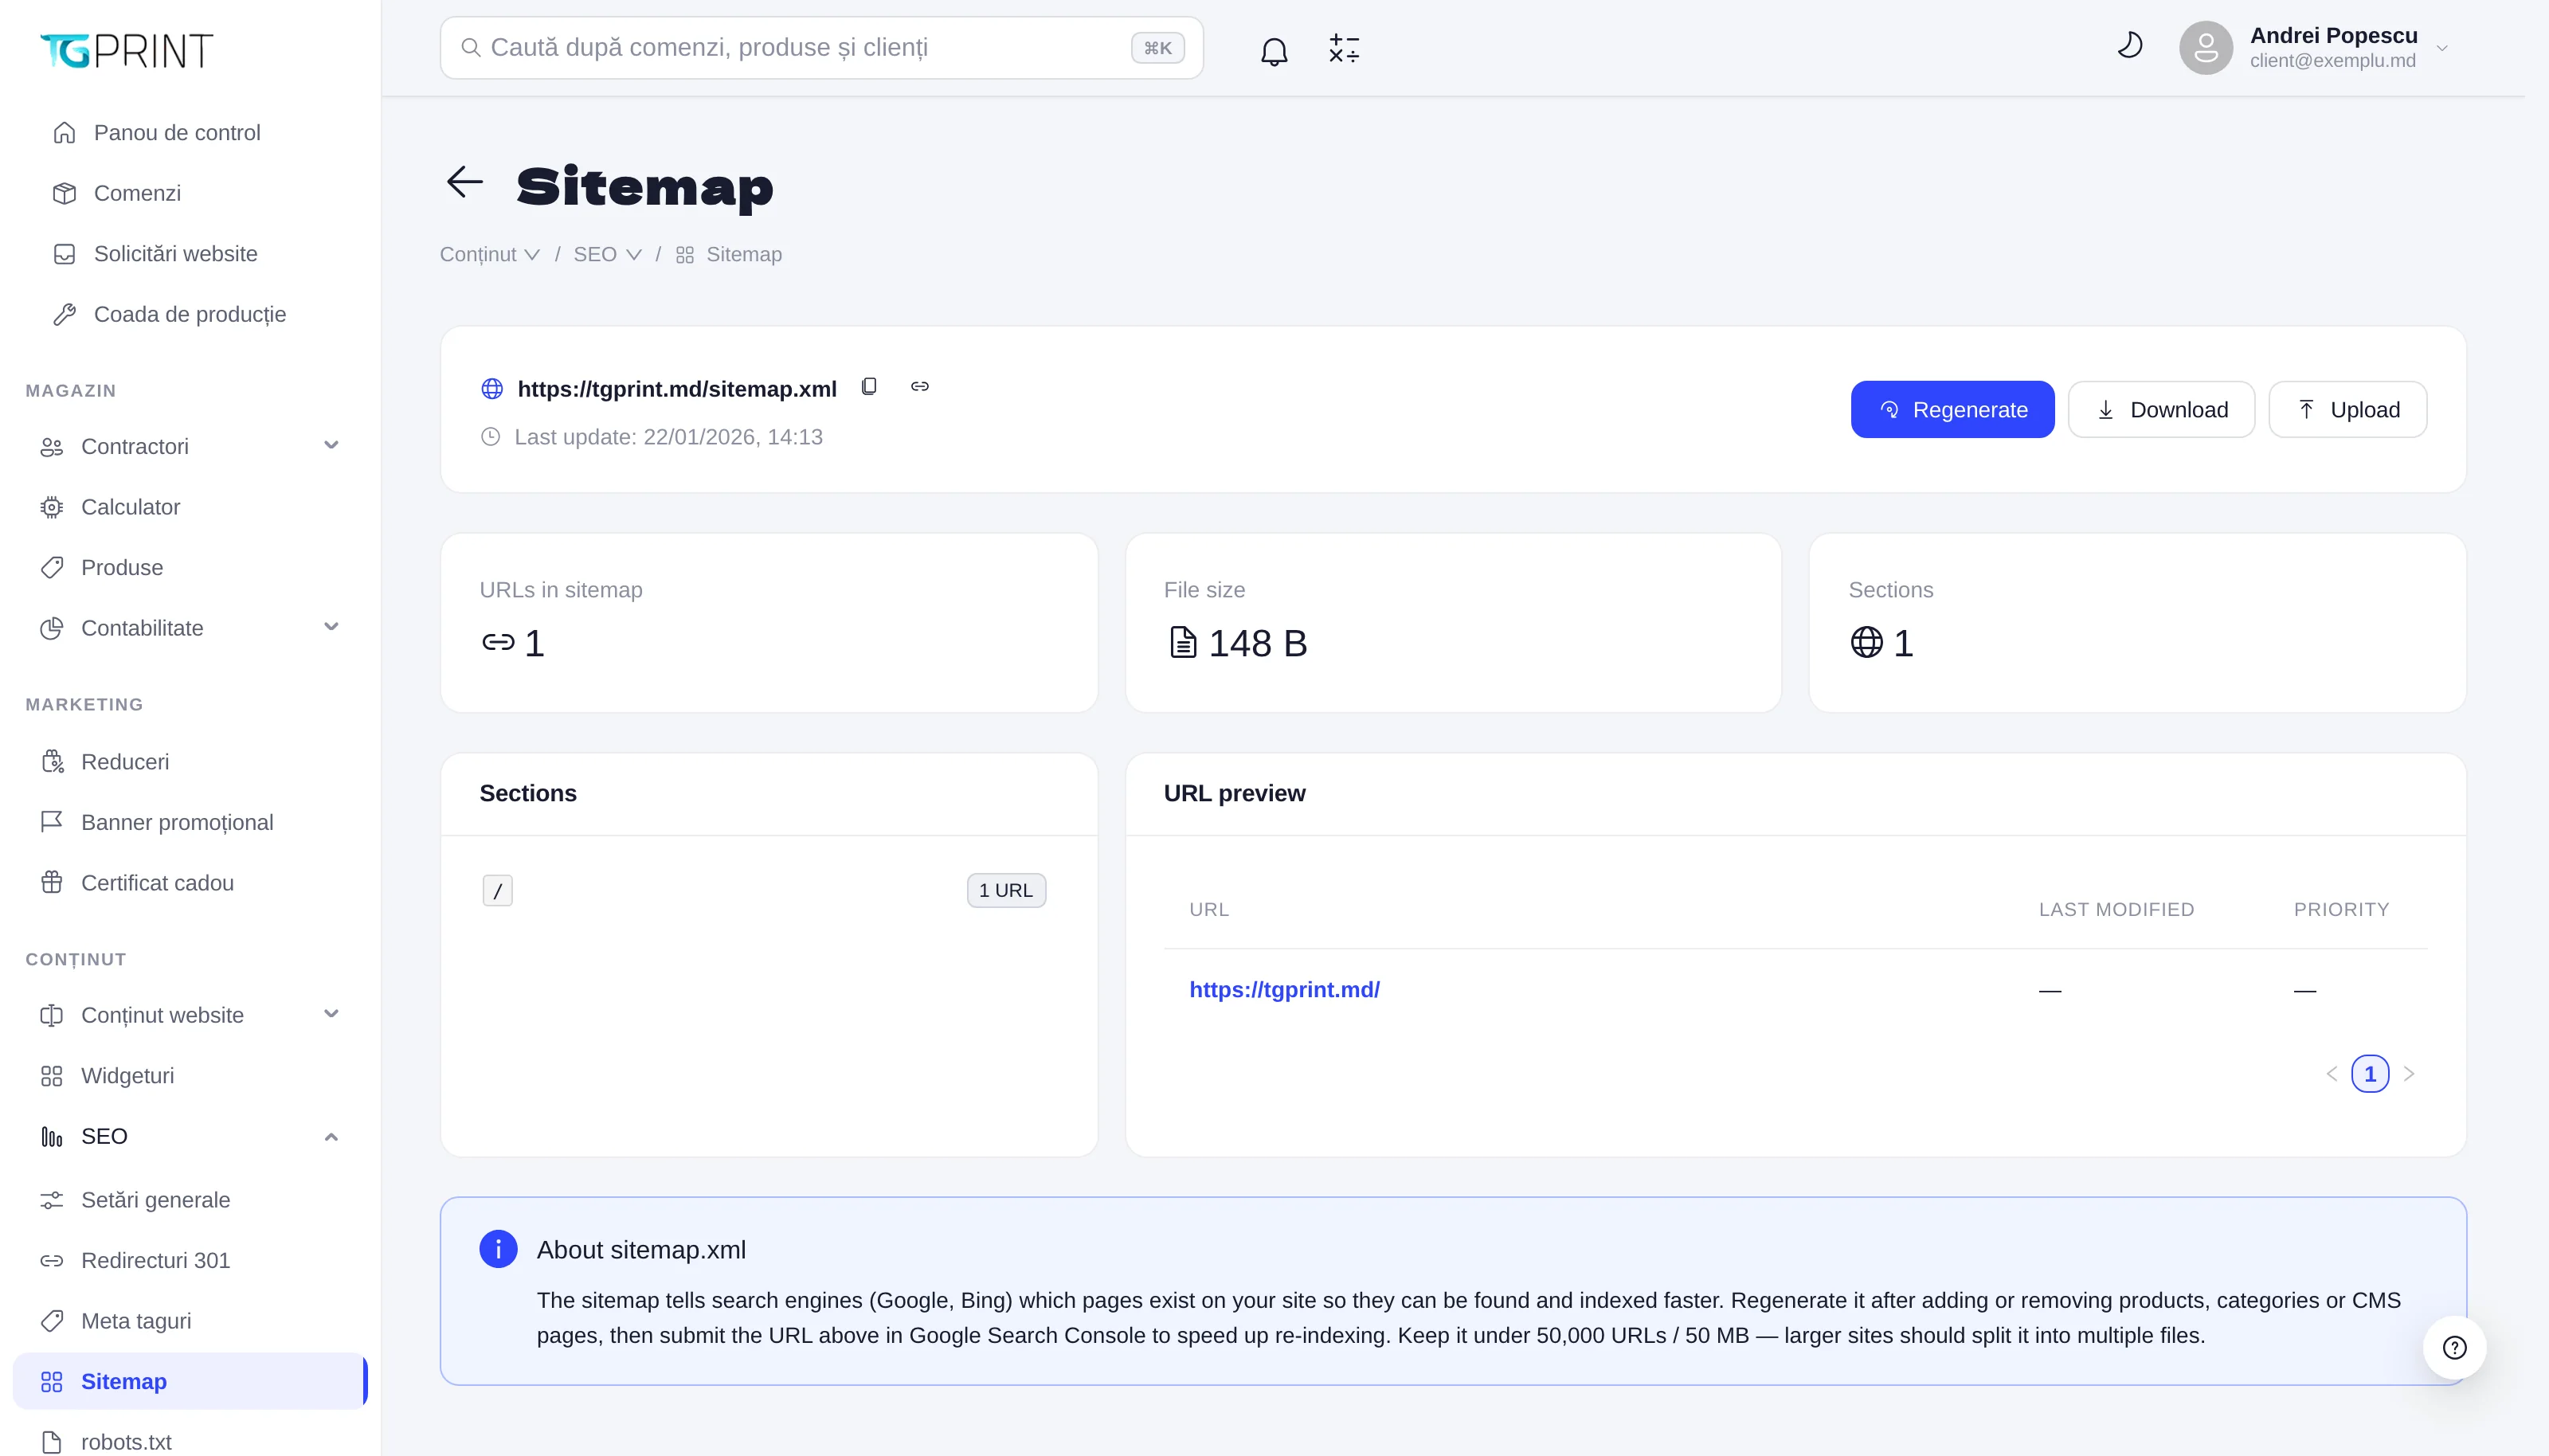
At the top is the public address of the sitemap.xml file, with buttons to copy and to open it, and Last update — the date of the last generation or upload. Regenerate rewrites the file on the server and updates the date; Download saves it to your computer; Upload replaces it with an .xml file of your own.
The URLs in sitemap, File size and Sections cards are computed from the current file. Sections groups the addresses by the first segment of the path, with the number of URLs in each; URL preview lists the addresses with Last modified and Priority, ten per page. The About sitemap.xml box sums up the role of the file: it tells search engines which pages exist, so they are found and indexed faster; regenerate it after you add or remove products, categories or pages, then submit its address to Google Search Console.
robots.txt
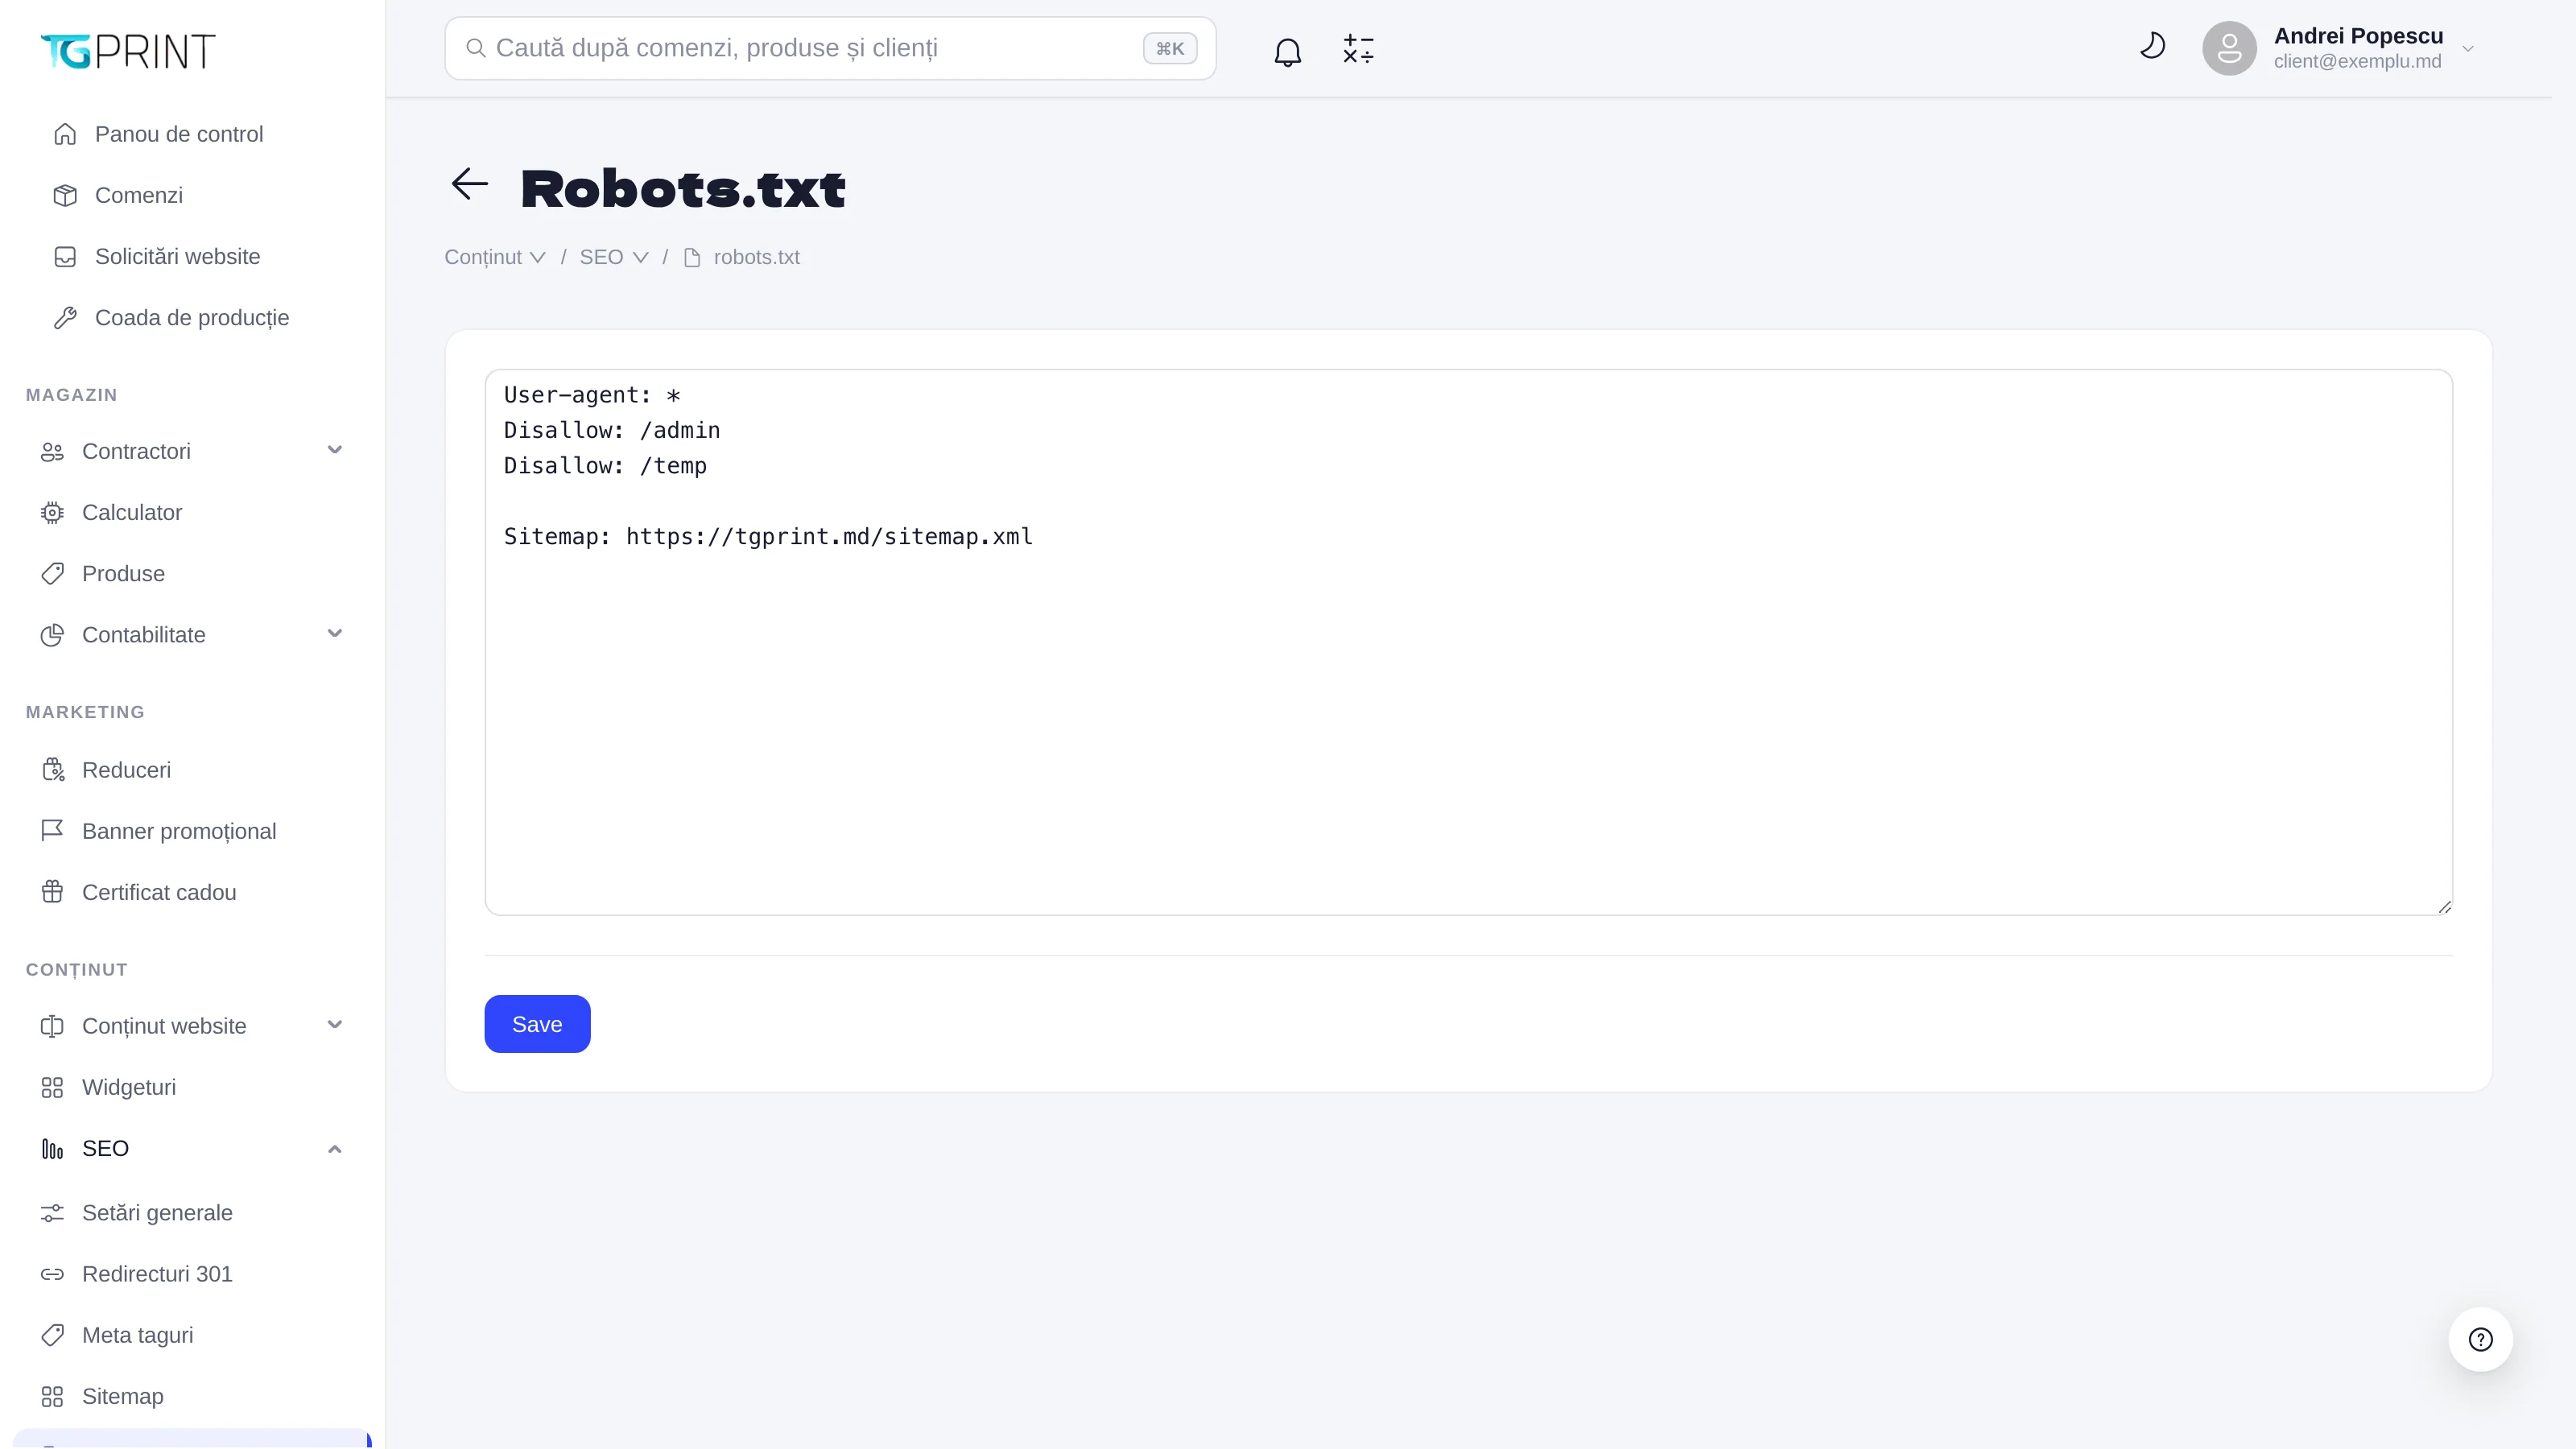
A text editor for the robots.txt file, which the site serves at /robots.txt. Write the rules (for example Disallow for the areas that must not be indexed and the Sitemap: line with the address of the sitemap) and click Save. If you have never saved anything, the site answers with the default User-agent: * / Allow: / rule.
Site Crawl
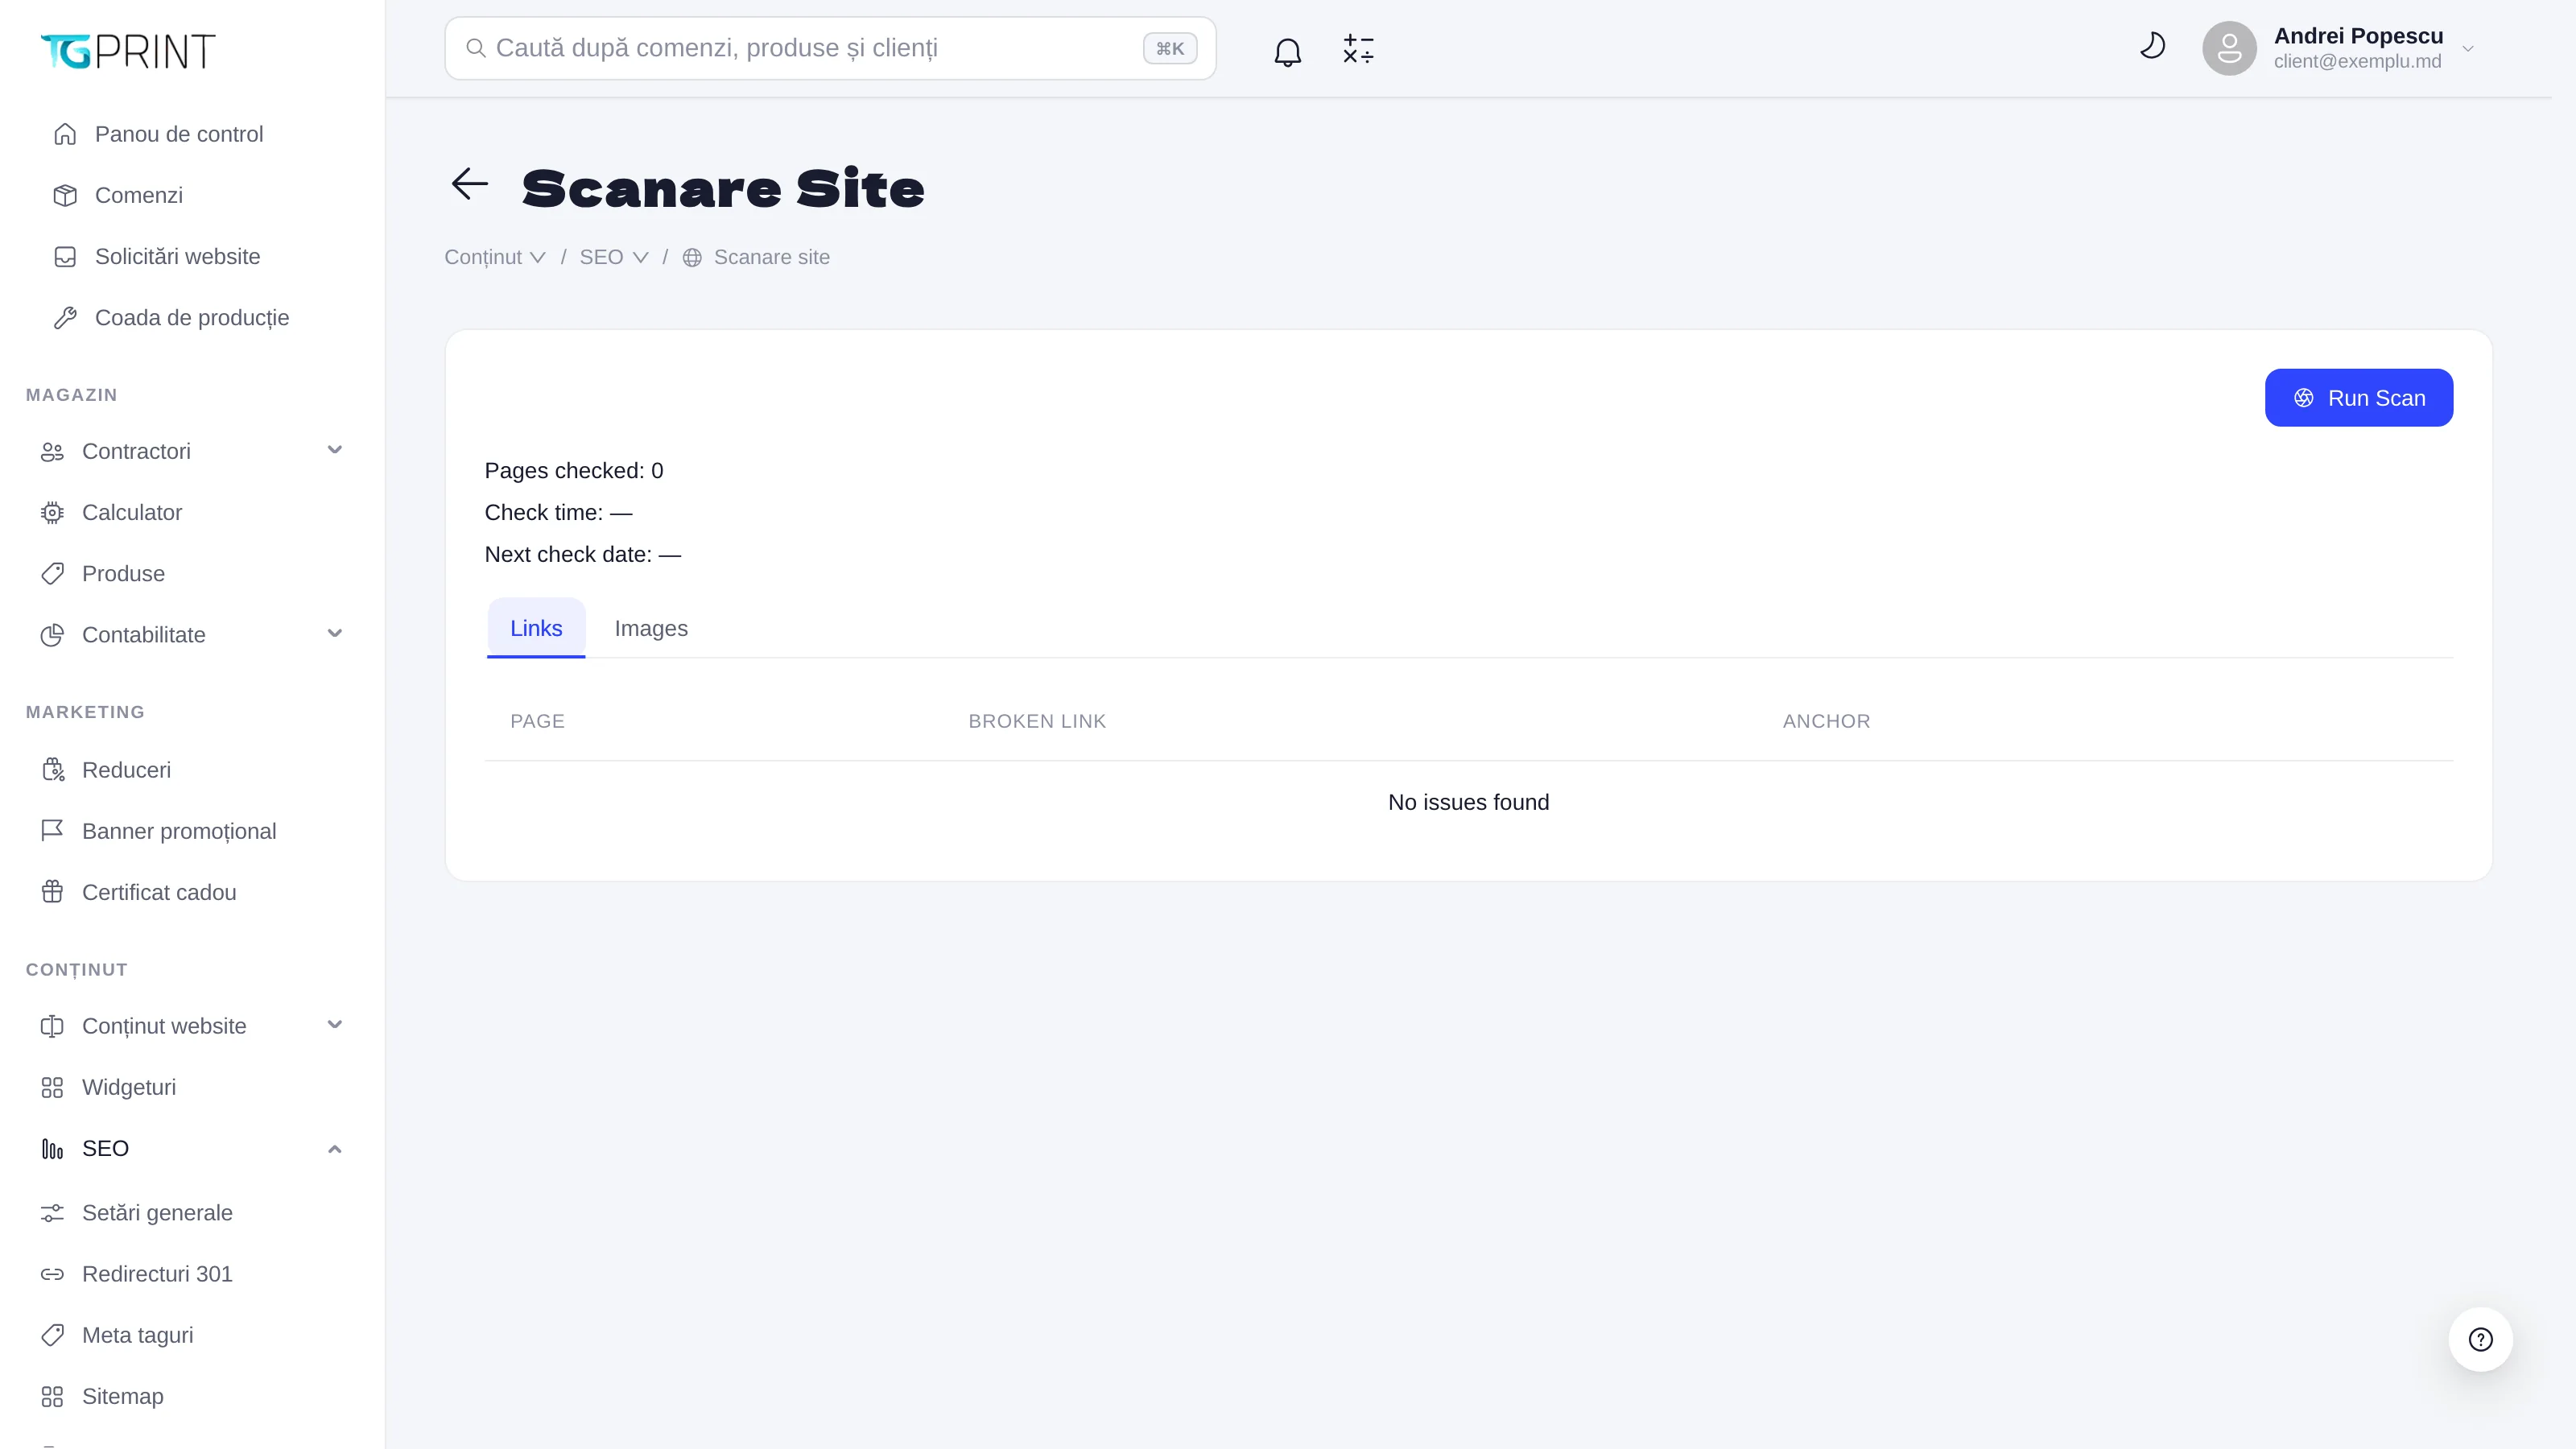
Site Crawl looks for broken links and images on the pages listed in the sitemap: it opens every page, checks all the links and images on it and records the ones that answer with an error or do not answer at all.
- Click Run Scan. The scan runs in the background and only one can run at a time; reload the page after a few moments if the results have not appeared yet.
- Read the indicators: Pages checked (how many pages were checked), Check time (the date of the last scan) and Next check date (seven days after it).
- The Links tab lists Page (the page the problem was found on), Broken Link and Anchor (the link text), with an edit button that takes you to the page, the menu or the footer where it can be fixed; the Images tab lists Page, Broken Image URL and Alt text. When there are no problems, the table shows No issues found; when there are, the Broken links found on site warning appears above it.
Note. The scan uses the list of pages from
sitemap.xml; if the file is missing or contains no addresses, the scan fails. Regenerate the sitemap first.
Note. Every scan replaces the results of the previous one — the tables always show the state as of the last check.